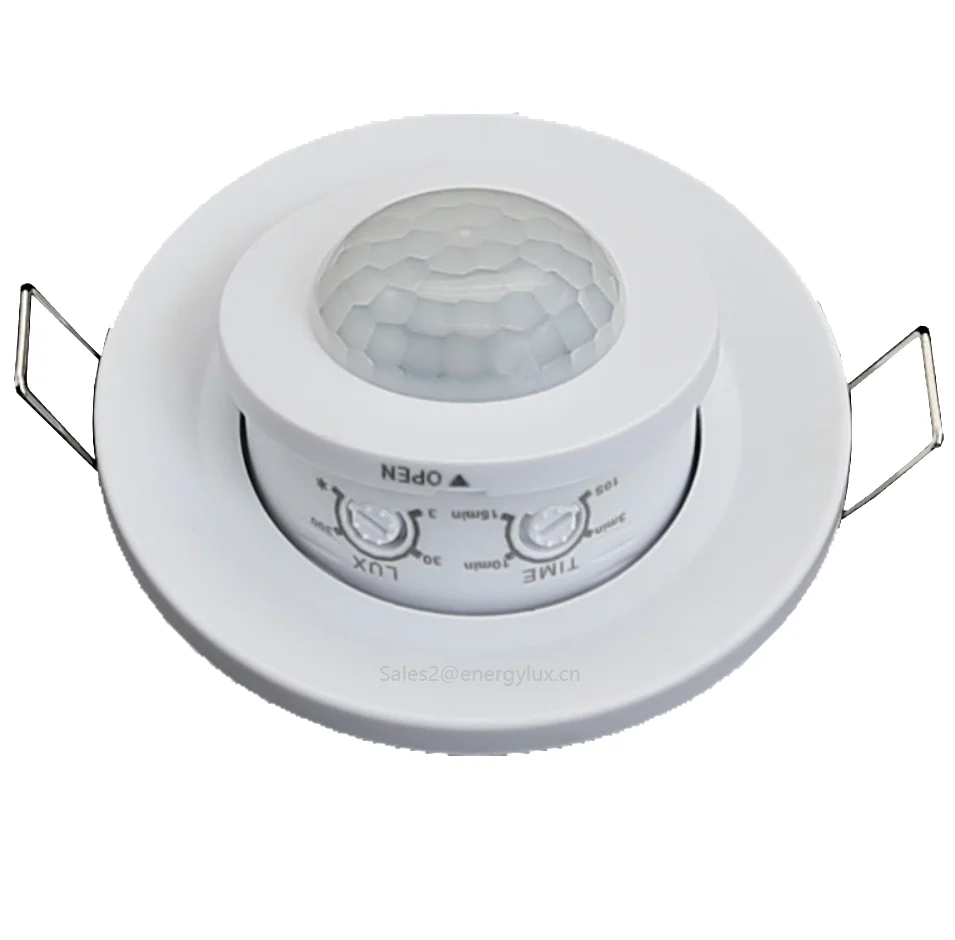
ES-P30 360 градусов встраиваемый светильник утопленный Потолочный PIR инфракрасный датчик
- Категория: >>>
- Поставщик: Ningbo,Energylux,Optoelectronics,Technology,Co.,Ltd.
Поделиться:
Описание и отзывы
Трекер стоимости
| Месяц | Минимальная цена | Макс. стоимость |
|---|---|---|
| Sep-15-2025 | 0.81 $* | 0.66 $* |
| Aug-15-2025 | 0.4 $* | 0.98 $* |
| Jul-15-2025 | 0.51 $* | 0.71 $* |
| Jun-15-2025 | 0.25 $* | 0.47 $* |
| May-15-2025 | 0.58 $* | 0.73 $* |
| Apr-15-2025 | 0.71 $* | 0.29 $* |
| Mar-15-2025 | 0.47 $* | 0.69 $* |
| Feb-15-2025 | 0.39 $* | 0.10 $* |
| Jan-15-2025 | 0.85 $* | 0.30 $* |
Характеристики


Features
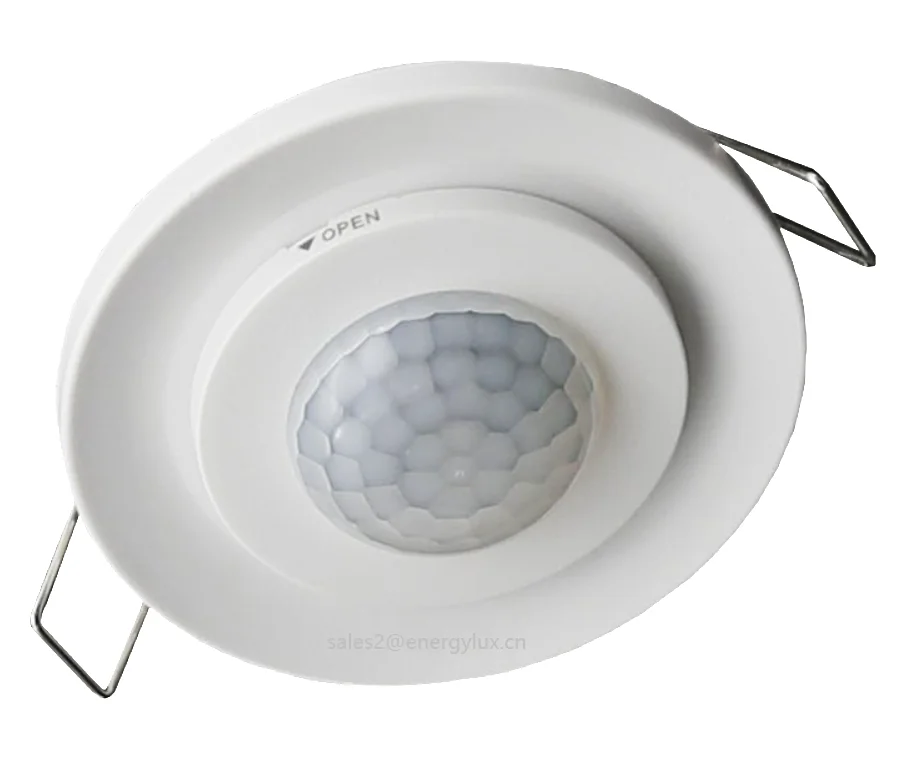
- Designed to Flush mounted /Recessed ceiling mounted
- Made of premium plastic material, not easy to aging, sturdy and durable for a long time use
- Exquisite appearance design, with high sensitivity and stable performance.
- Energy saving ,which is good to enviroment ,not mention to your energy bills
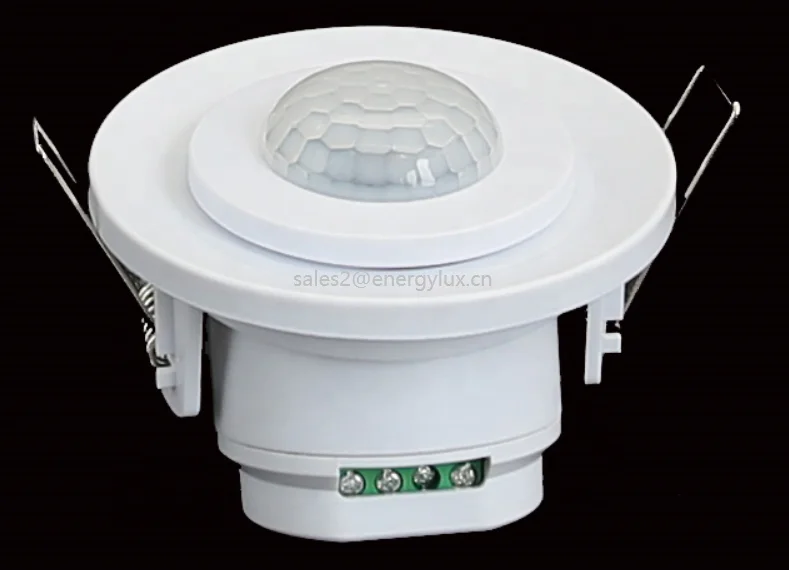
ES-P30 360 degree Flush mounted recessed ceiling PIR Infrared Motion Sensor
This motion detector utilizes human motion infrared rays as control signal sources, when one enters the detection field, it will start the controlled load at once; It can identify day and night automatically; It is easy to install and its usage is wide.
SPECIFICATION
| MODEL | ES-P30 series | Two size of cover options
|
| DETECTION RANGE | More than 8M | |
| DETECTION ANGLE | 360 degree | |
| POWER SOURCE | 110V-130V/AC 220-240V/AC | |
| POWER FREQUENCY | 50/60HZ | |
| RATED LOAD | 1200W(incandescent lamp) 300W(LED or Energysaving lamp) | |
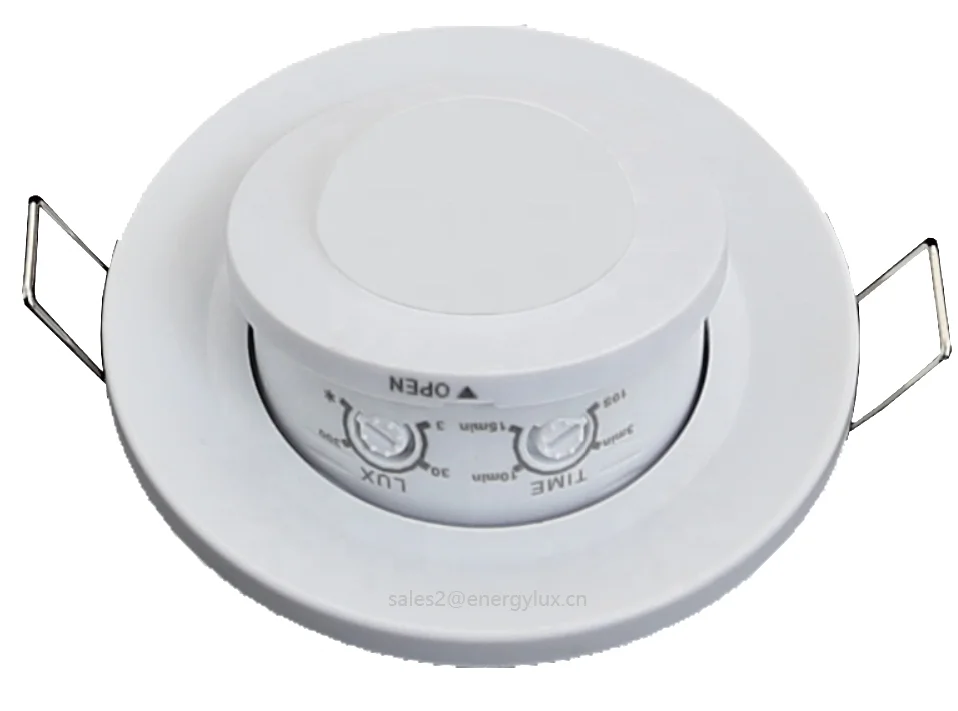
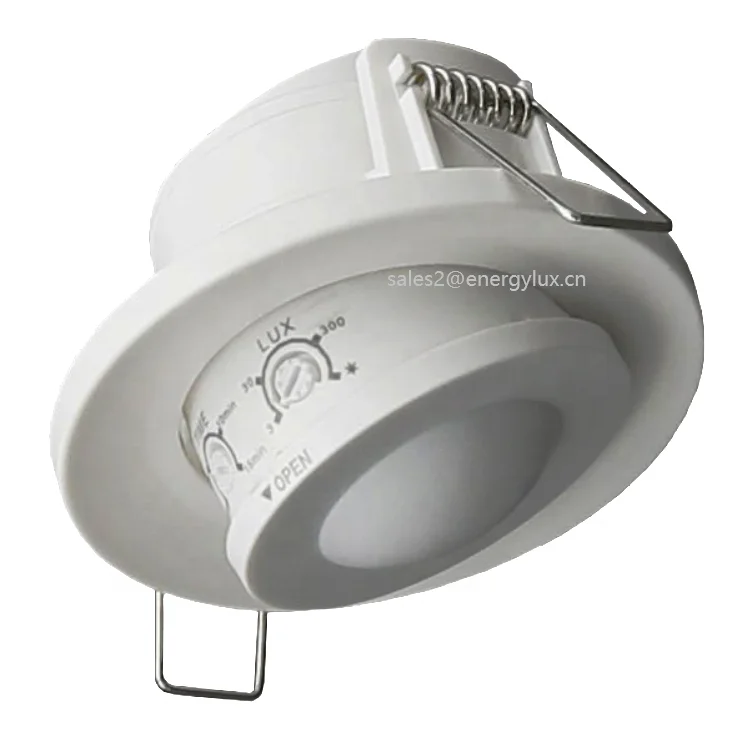
| TIME SETTING | 10sec-15min,adjustable | |
| WORKING HUMIDITY | <93% | |
| WORK TEMPERATURE | -10°C~+40°C | |
| INSTALLING HEIGHT | 1.5m-3.5m |
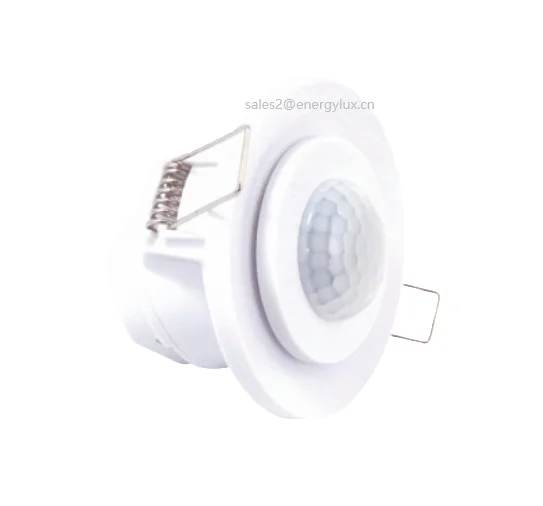
INSTALLATION
Ø Shut off the power.
Ø Firstly, screw the middle part with the sensor part together, check the right figure, ( this part is screwed when leaving factory)
Ø Unscrew the beside of the middle part, and install the gimbals’ base in the ceiling or other place where you want to install, fasten the sensor part (first step in here) with the base, screw and fix the sensor part to base.
Ø Connect the power and load together according to the following figure.
Ø Switch on the power and test it.
CONNECTION-WIRE DIAGRAM

Contact us now !


Похожие товары