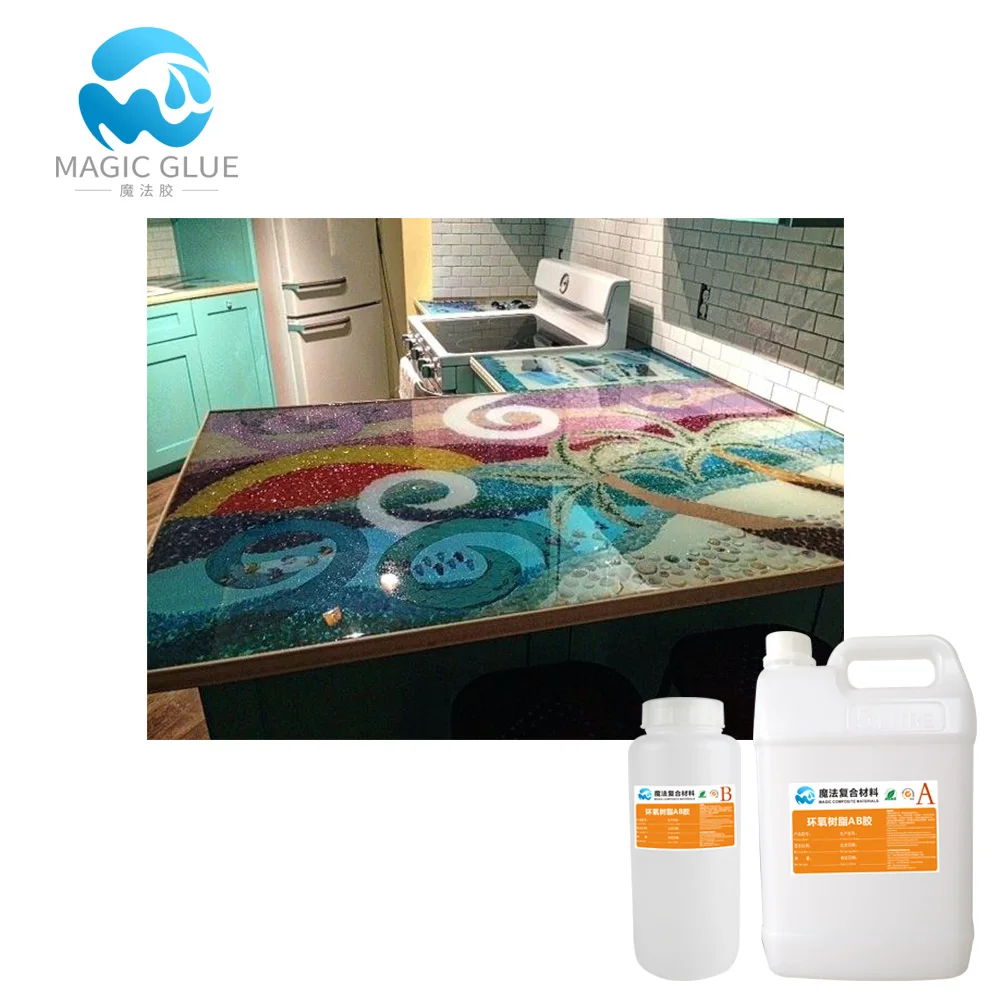
Твердость устойчивость к царапинам Кристальные двойные компоненты клей для покрытия
- Категория: Мебельная краска >>>
- Поставщик: Dongguan,Magic,Composite,Materials,Co.,Ltd.
Поделиться:
Описание и отзывы
Трекер стоимости
| Месяц | Минимальная цена | Макс. стоимость |
|---|---|---|
| Sep-19-2025 | 7.78 $* | 7.35 $* |
| Aug-19-2025 | 7.78 $* | 7.75 $* |
| Jul-19-2025 | 6.56 $* | 6.51 $* |
| Jun-19-2025 | 7.68 $* | 7.81 $* |
| May-19-2025 | 6.87 $* | 6.95 $* |
| Apr-19-2025 | 7.74 $* | 7.12 $* |
| Mar-19-2025 | 7.85 $* | 7.93 $* |
| Feb-19-2025 | 7.21 $* | 7.21 $* |
| Jan-19-2025 | 7.73 $* | 7.37 $* |
Характеристики
| Product Description |

Technical Data Sheet |
| Coverage Data |
| Item | Epoxy Resin (A) | Hardener(B)/kgs | Thickness(mm) |
| Epoxy Prmimer (per square meter) | 0.3 | 0.1 | 1 |
| Epoxy Base Coat (per square meter) | 0.6 | 0.3 | 1 |
Epoxy Topcoat(per square meter)
| 0.15 | 0.05 | 1 |
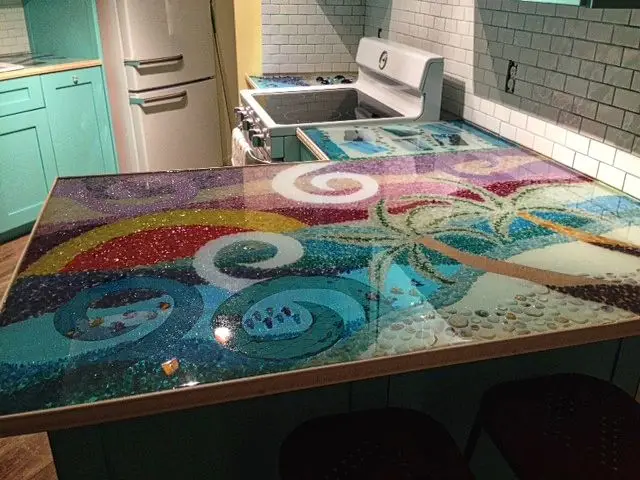
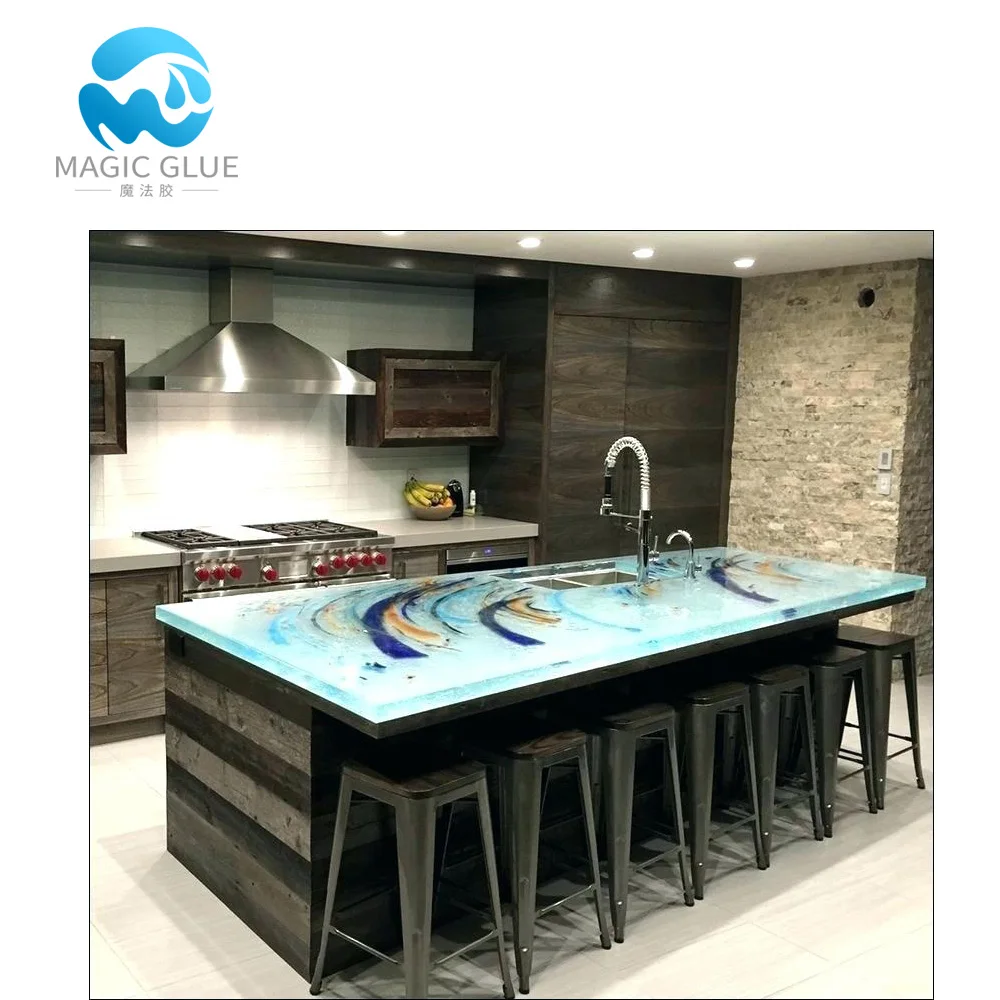
How to use Magic Ultra Clear Table Top Epoxy Coating /Extremely Durable Table Top Finish?
No experience needed.Get a beautiful crystal-clear surface in just a few easy steps.
Step 1: Measure Epoxy
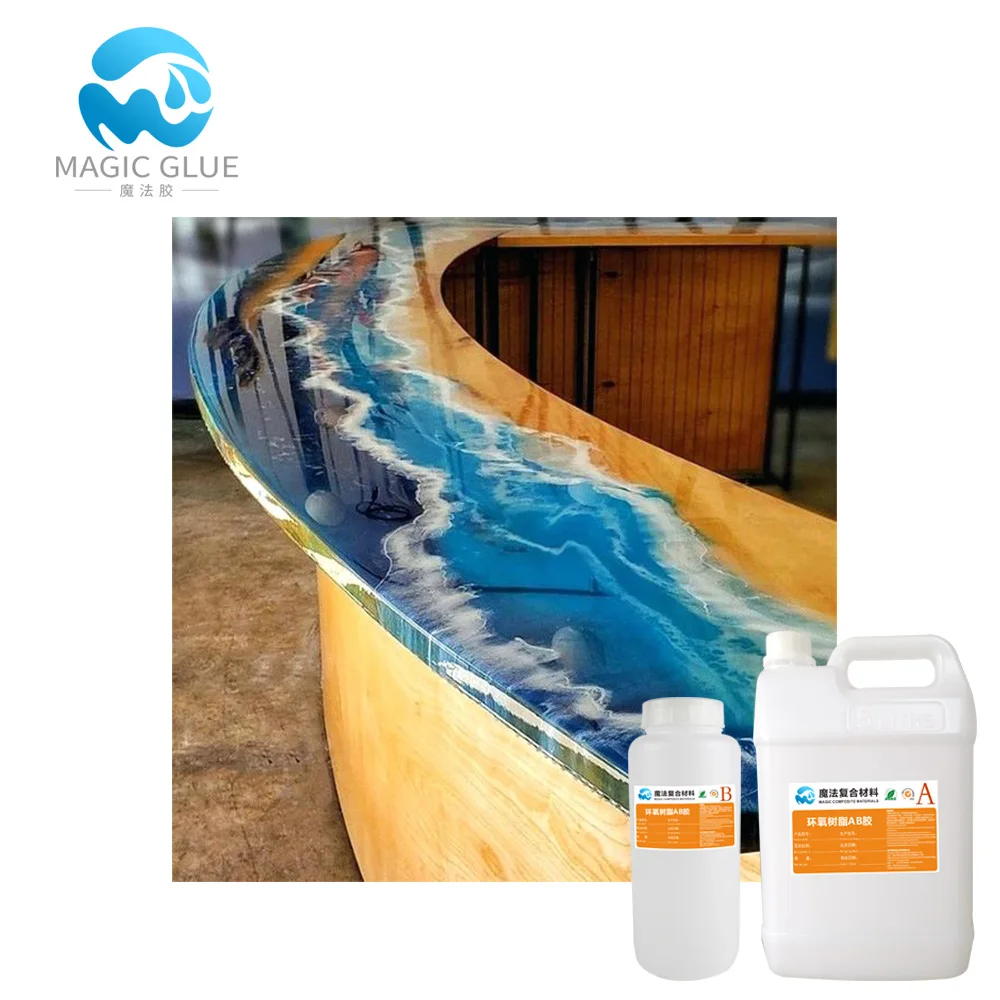
Clear Epoxy is a two-part, epoxy coating that is mixed at a 3 to 1 ratio. Pour an equal amount of hardener and resin into a new container. It is important that you use a new container for each batch that you mix so that the next batch does not get contaminated from the remnants of curing epoxy in the previous container.
Step 2: Mix Epoxy
Mix thoroughly with our mixing drill bit to ensure that the batch is completely blended.
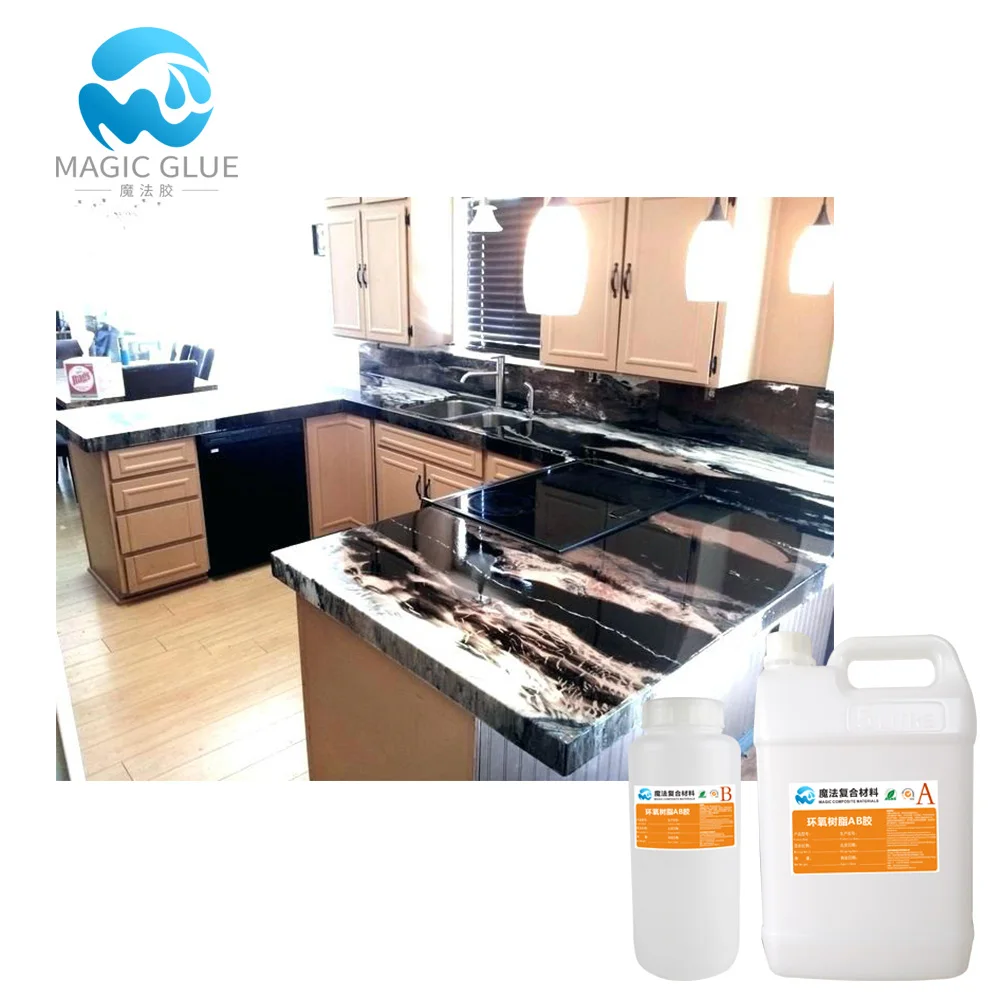
Step 3: Paint on a Seal Coat of Epoxy
On porous material such as wood, you will need to paint on a seal coat of the same epoxy first to seal any pores in the surface. This prevents air bubbles from forming in the following flood coat. Not all surfaces require a seal coat. Contact customer service if you are unsure if your project will need a seal coat as you will need to figure the seal coat into your epoxy order to make sure you have enough product.
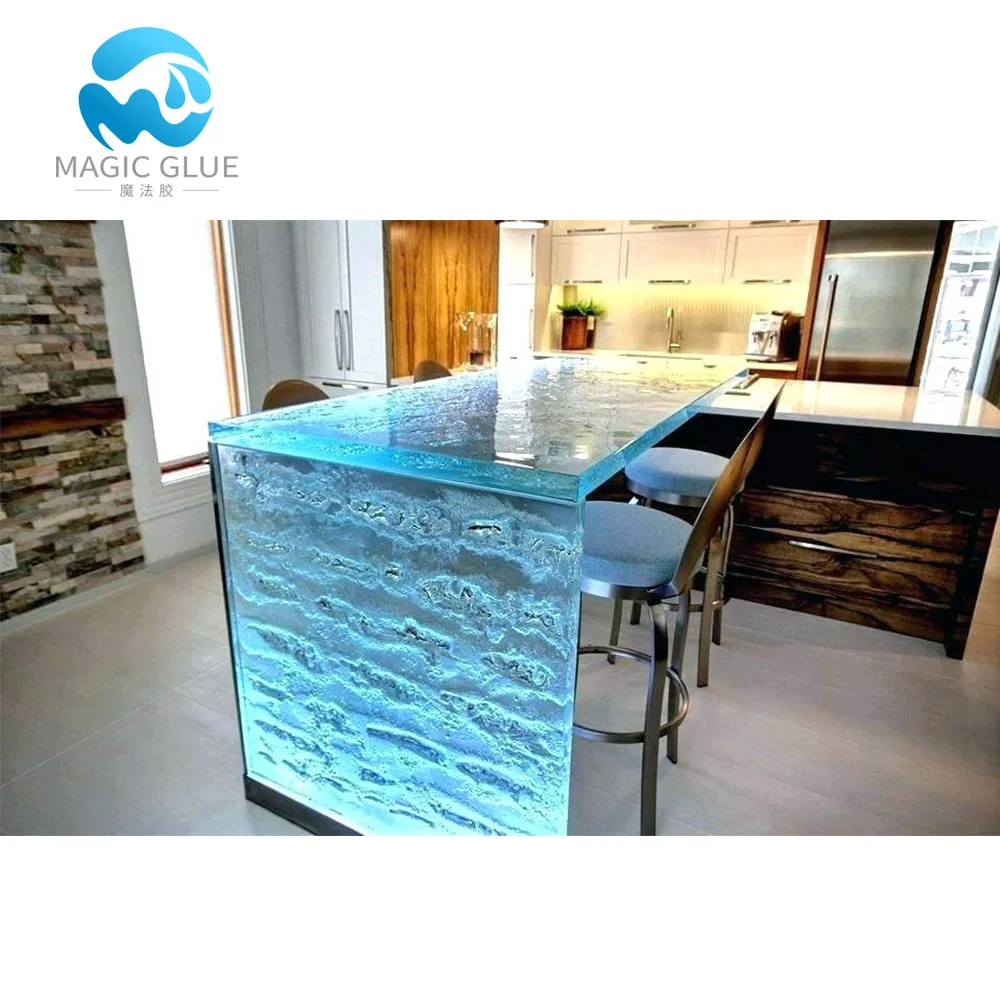
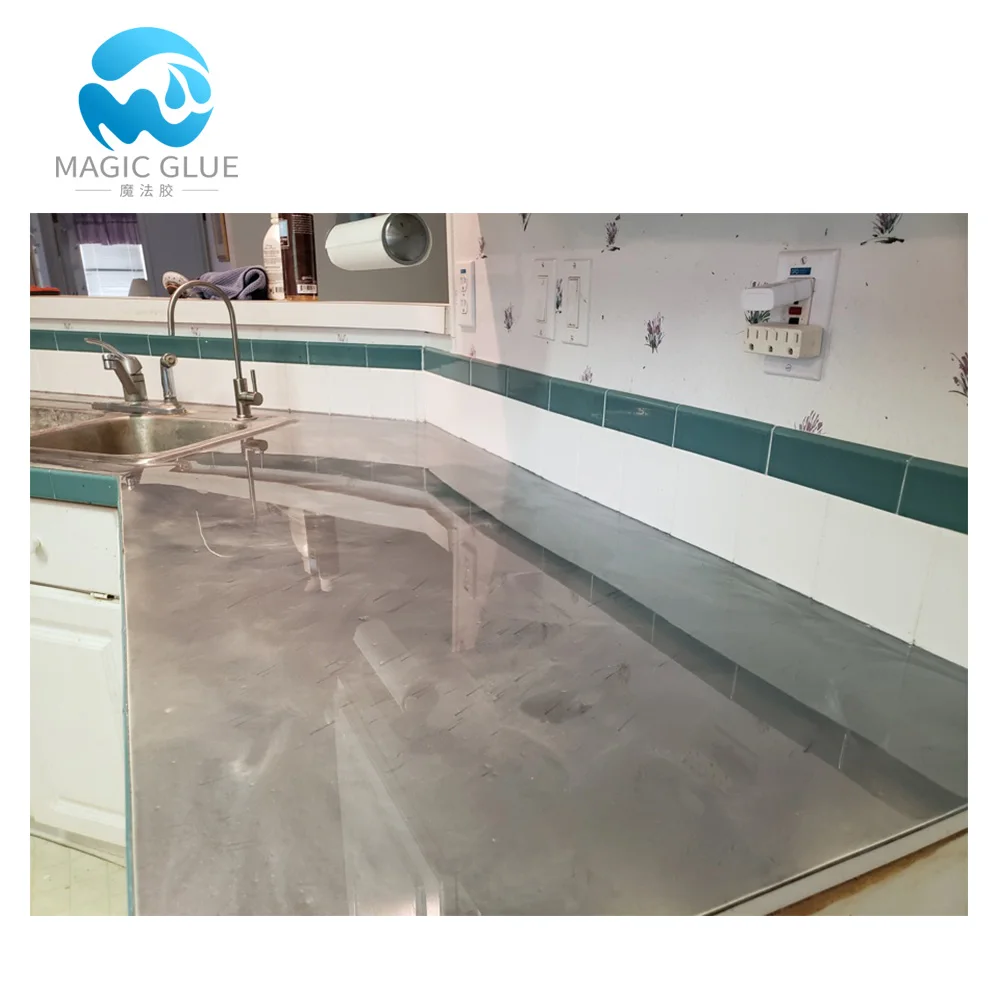
Step 4: Pour Epoxy Flood Coat
Pour the epoxy onto the surface working your way down the length of the area. The epoxy self levels so there is no need to move it around with any tools. The epoxy coat can be allowed to flow over the sides which will create a coating on the vertical edges. The epoxy that drips over will form bumps about 1/2 inch underneath the lip of the edge. These drips can be sanded off once the epoxy has cured.
*Multiple flood coats can be applied to cover over embedded objects. Just pour a new flood coat every 4 hours.
Step 5: Pop Air Bubbles with a Plumber’s Torch or Heat Gun
Once you finish pouring the epoxy, you will need to pop air bubbles using a plumber’s torch or a heat gun (not a hair dryer). This process is the easiest step as it only takes about 30 seconds to 1 minute to do. Keep the torch or heat gun a few inches from the surface and simply wave it back and forth until you cover the entire distance of the surf