Подсветка HPC015S 2021 поддержка Wi-Fi устройство для
- Категория: Counters >>>
- Поставщик: Highlight,Manufacturing,Corp.,Ltd.
Поделиться:
Описание и отзывы
Трекер стоимости
| Месяц | Минимальная цена | Макс. стоимость |
|---|---|---|
| Sep-19-2025 | 169.55 $* | 177.17 $* |
| Aug-19-2025 | 168.36 $* | 176.67 $* |
| Jul-19-2025 | 141.47 $* | 148.65 $* |
| Jun-19-2025 | 165.75 $* | 173.39 $* |
| May-19-2025 | 143.41 $* | 150.74 $* |
| Apr-19-2025 | 162.40 $* | 170.79 $* |
| Mar-19-2025 | 160.82 $* | 168.92 $* |
| Feb-19-2025 | 159.56 $* | 167.59 $* |
| Jan-19-2025 | 158.36 $* | 166.74 $* |
Характеристики
Product Description
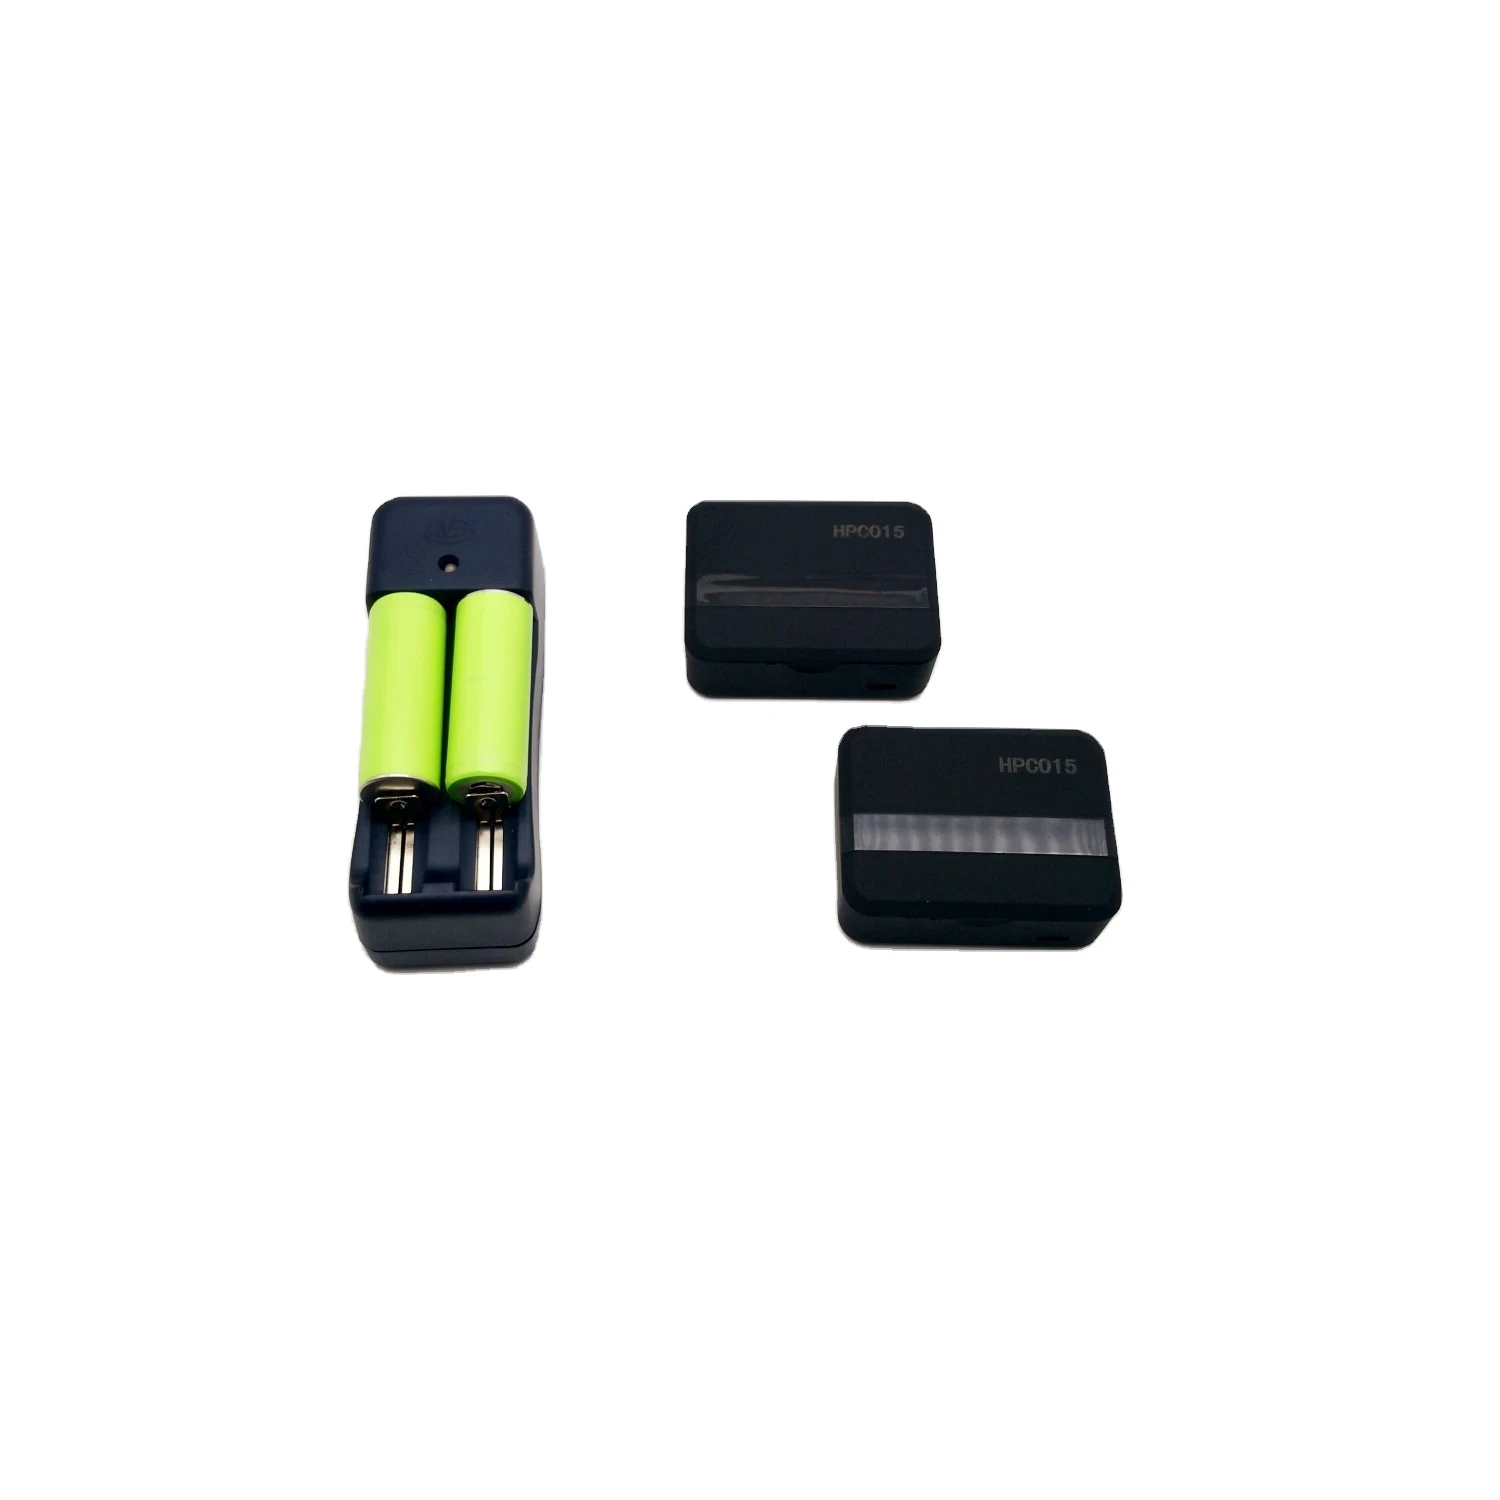
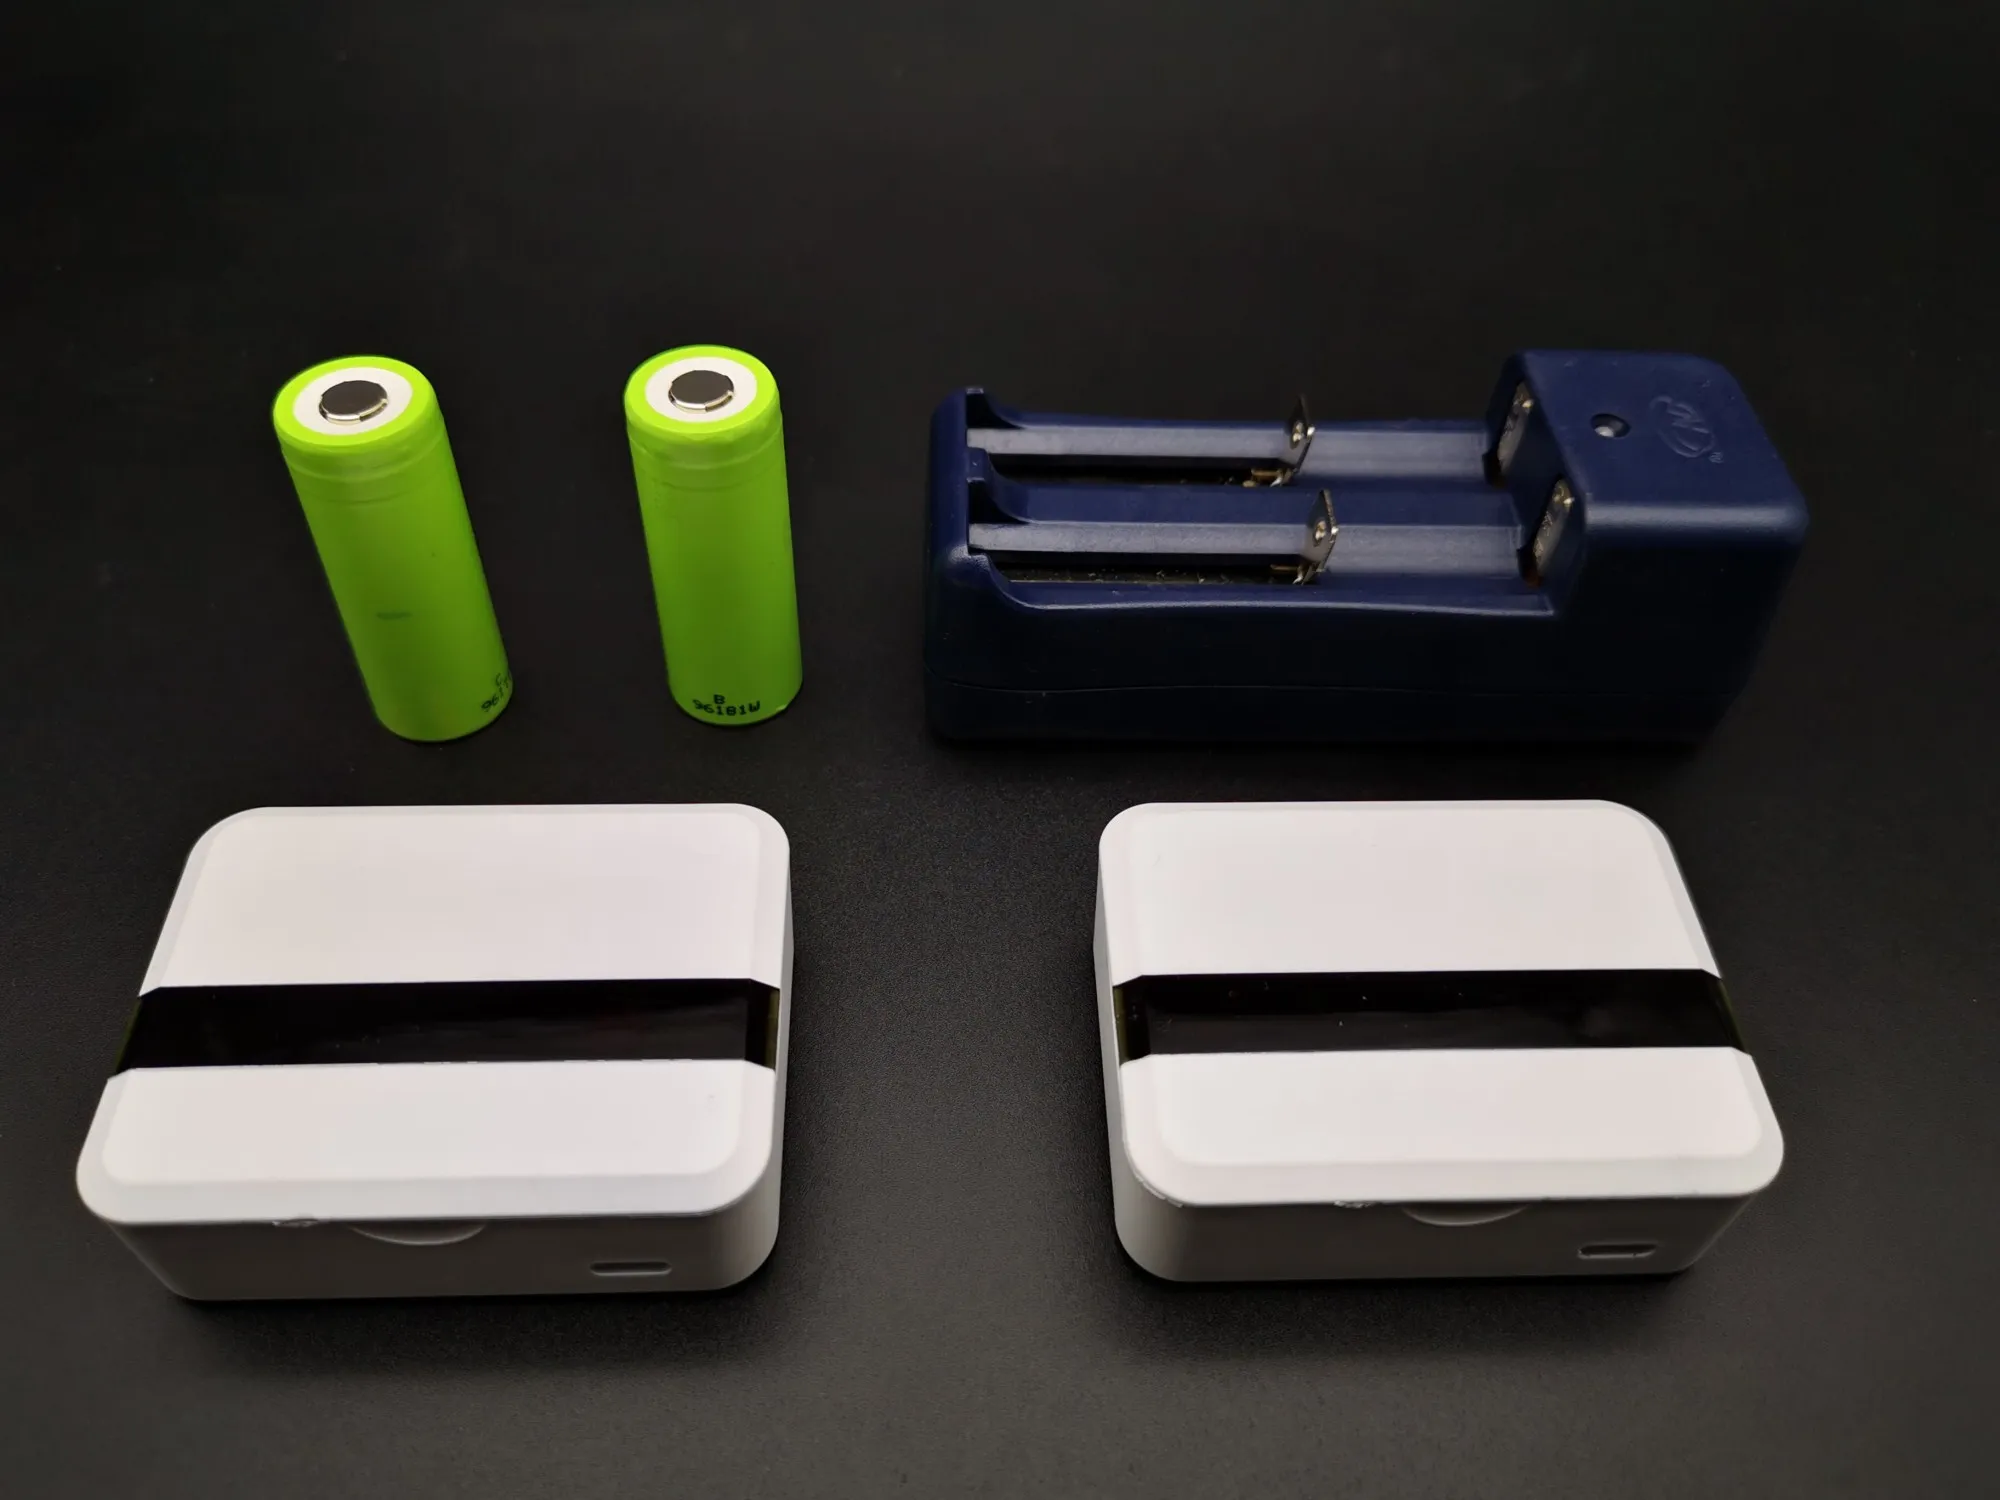
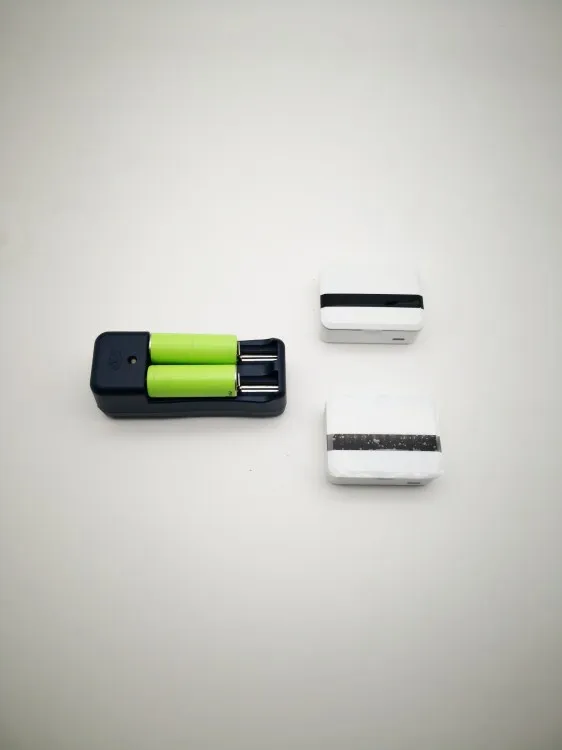
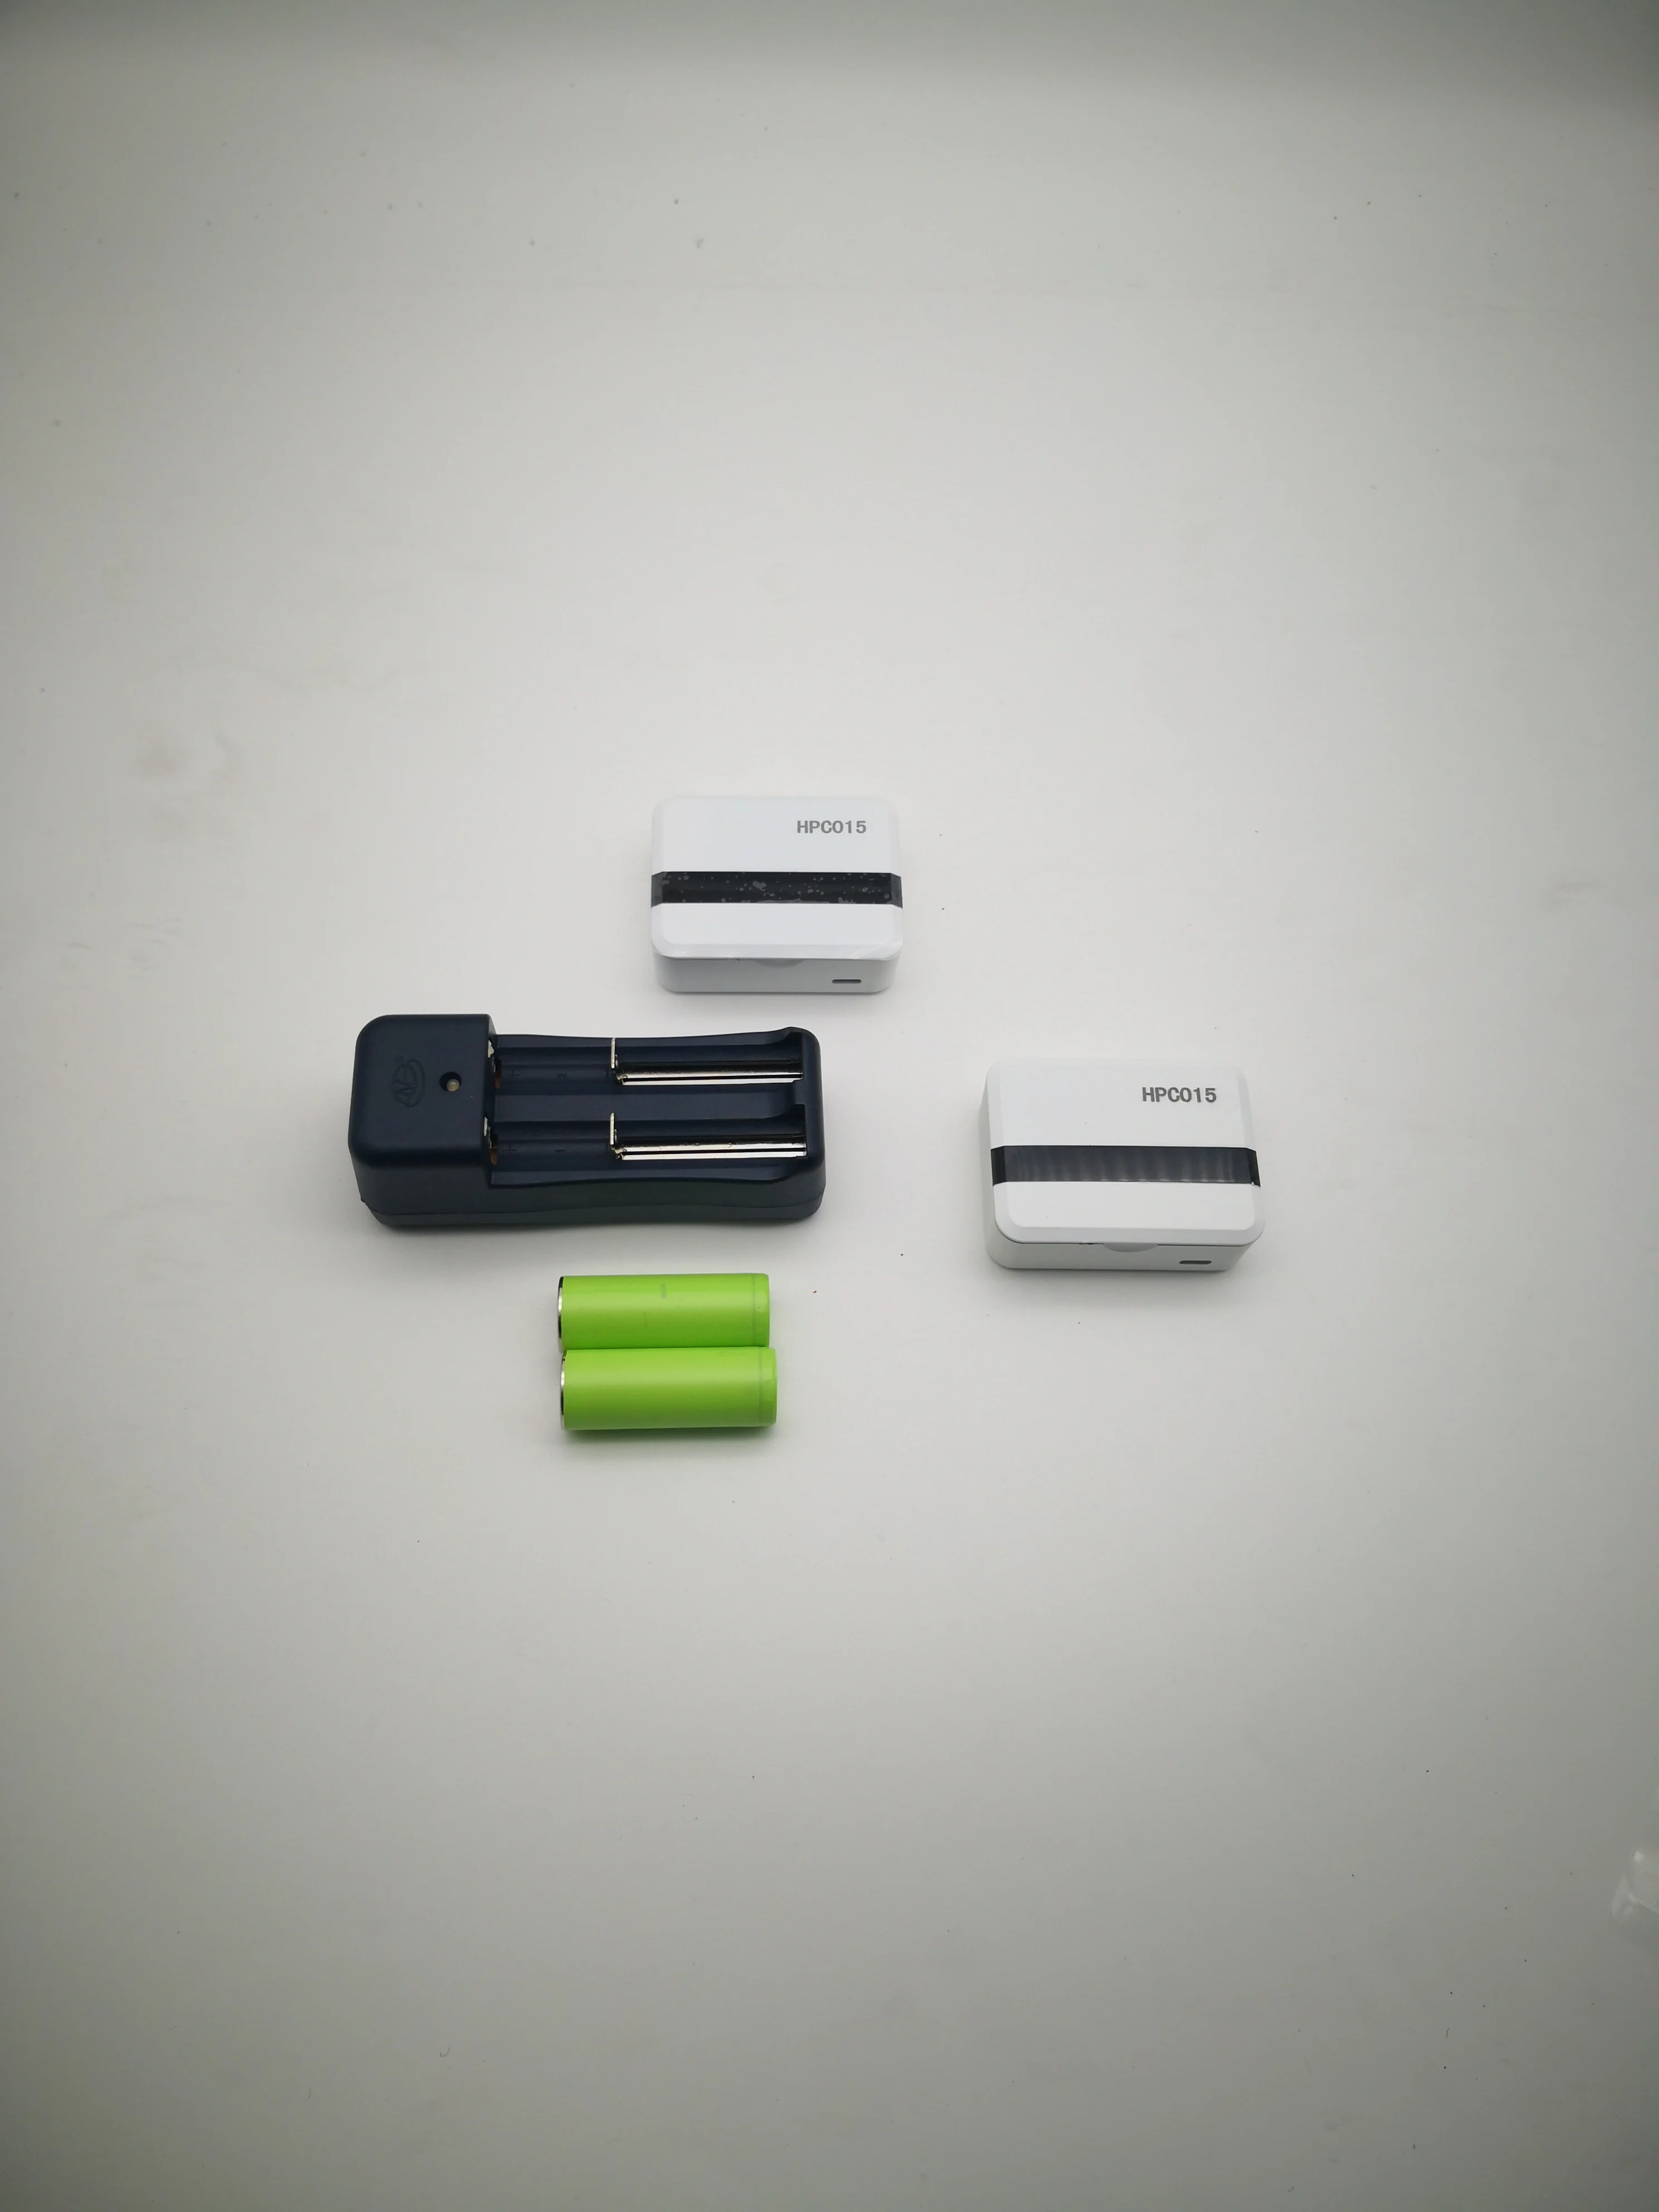
1. Package Contents
Opening the packing box, there are a RX (receiver), a TX (transmitter), two rechargeable lithium batteries, a charger, double-sided tapes , two mounting brackets (optional, extra charge)and a small wrench.

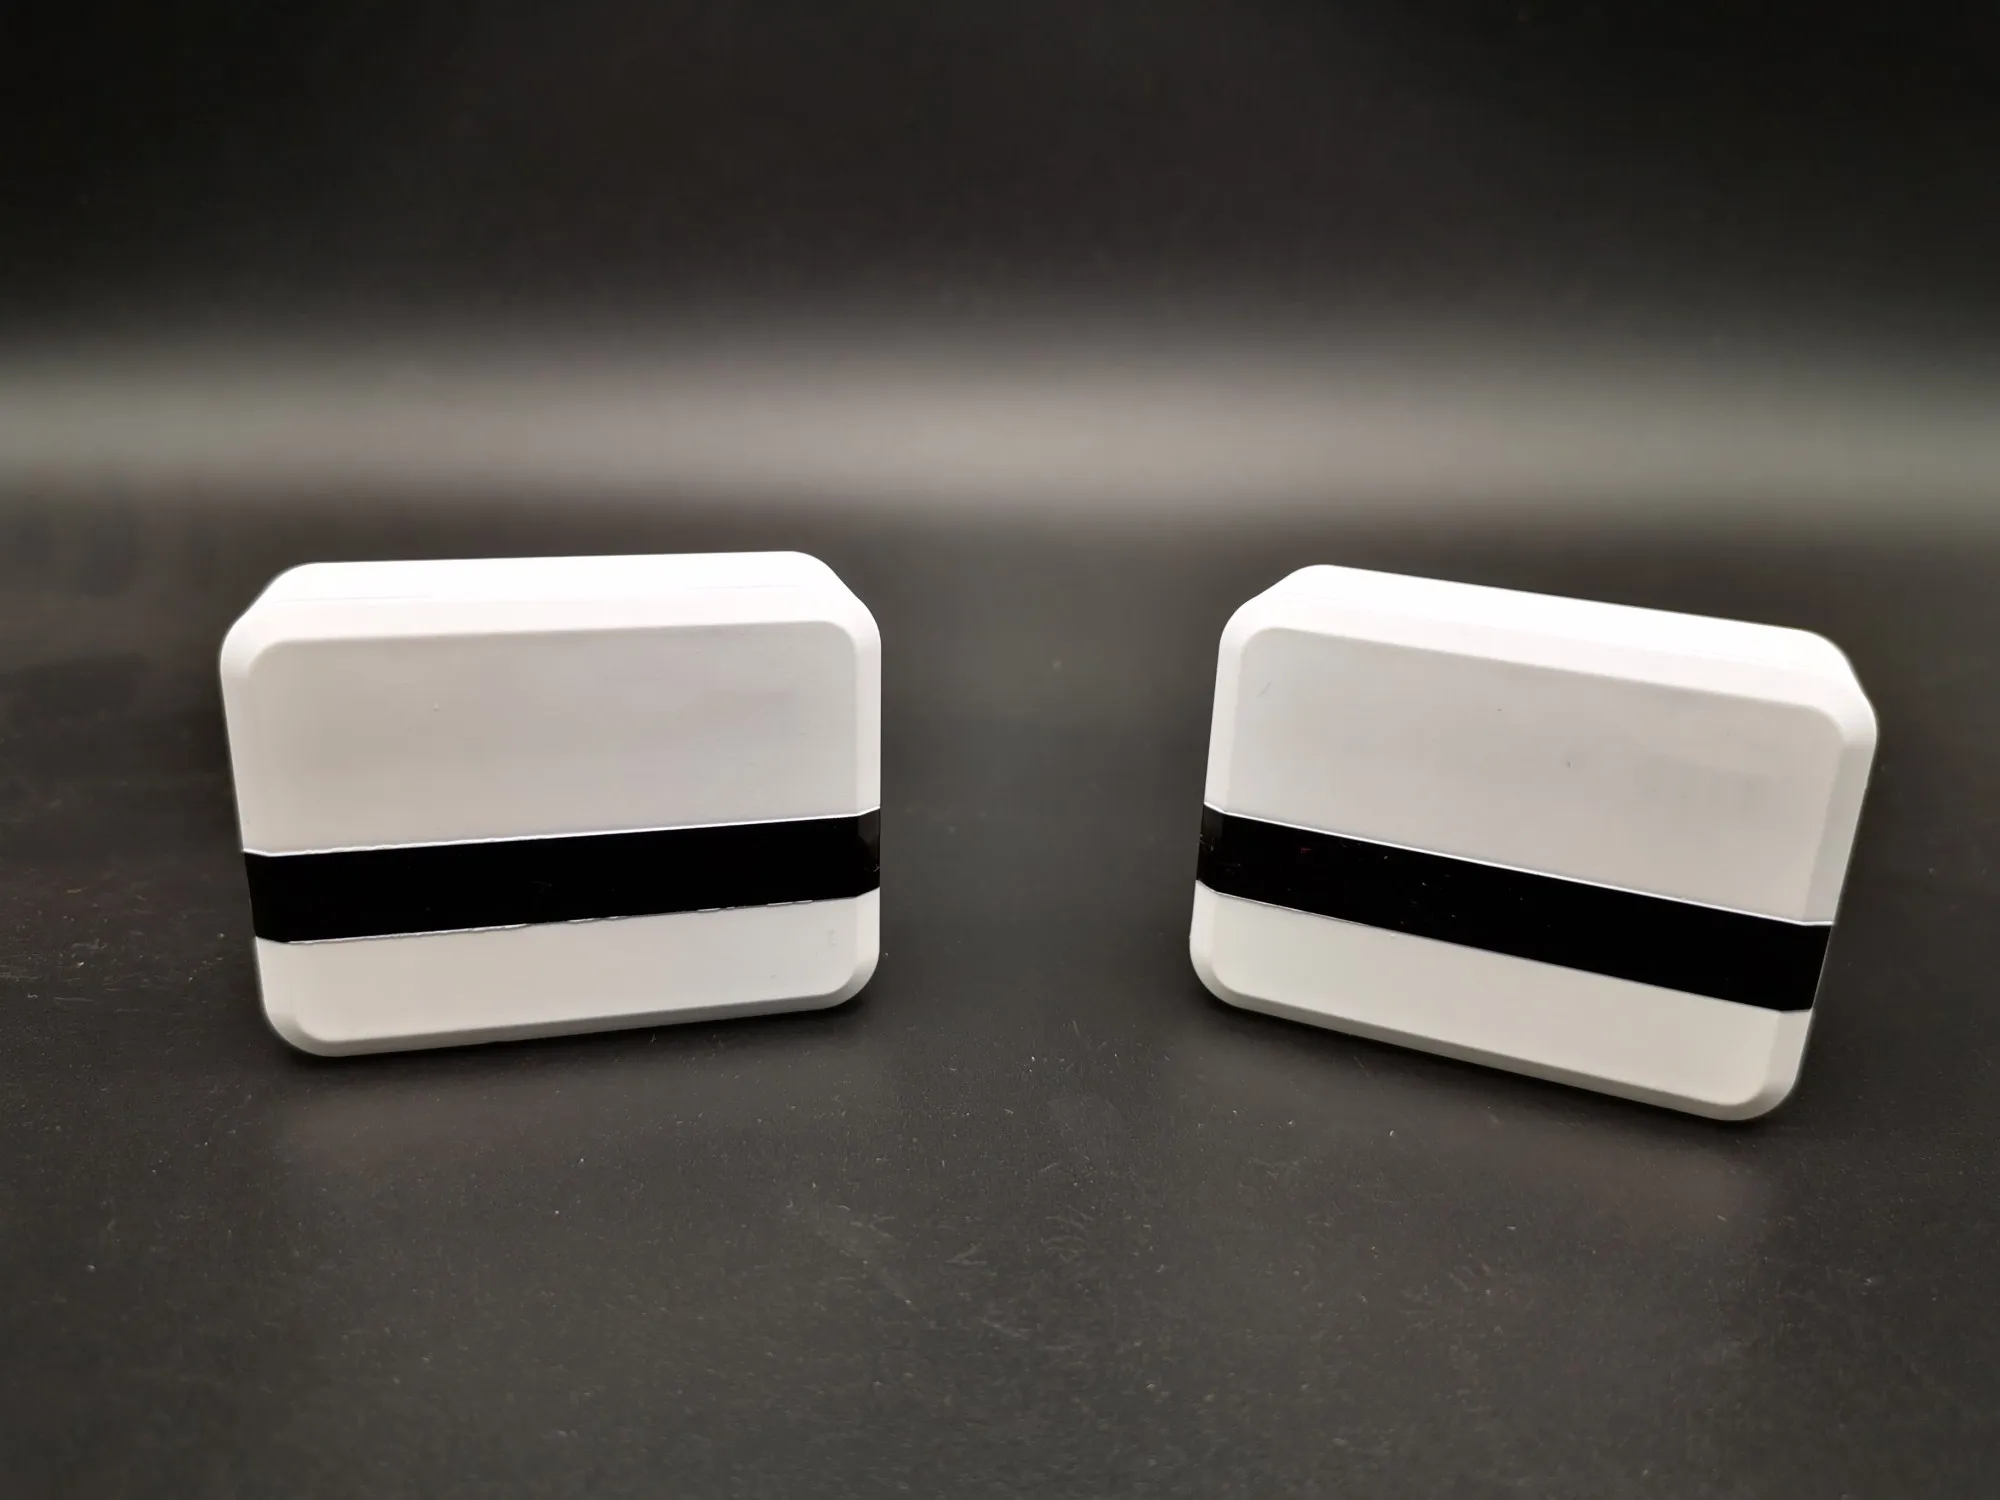
2. Installation of Cover Plate
There is a cambered notch at the top of receiver and transmitter. Use the thumbs of both hands to press the cover plate and the base, then open the cover plate carefully. After the installation and settings are finished, the cover plate can be buckled on.

Attention!
Be sure to install the cover plates in correct direction.
The black bar area of the cover plate is infrared light transmission area. The infrared light of transmitter emits infrared ray beams through the area. Receiver receives the infrared ray beams and shows the contents of OLED display screen through the area.
3.Introductions of Receiver Panel

After installing the battery, OLEDdisplay screen will show the booting information. By touching the touch sensor button, you can switch the contents on display screen: the current battery remaining capacity (BAT) and product serial number (SN), working parameters, open and close time, start AP menu and so on. If without touch operation for more than 10 seconds, the display screen will automatically turn off to reduce power consumption.
There are three indicator lights for receiver:
Red indicator light is used as the infrared focus indication. When receiver cannot receive the infrared signal from transmitter, the red indicator light will flash. Through this indicator light, you can easily find the suitable mounting position of transmitter.
Yellow indicator light is used for low-voltage battery alarm and charge indications. When the battery voltage is too low, the indicator light will flash to remind you to charge or replace the battery. When the battery is charged through the USB interface, the indicator light is on. If you do not want to use battery, turn the DIP switch of power supply mode to the "V" position, then you can use the USB interface to charge the receiver.
Blue indicator light is for WIFI network transmission or data saving indication.
4. Introductions of Transmitter Pane

There are two indicator lights for transmitter:
Red indicator light is used as low-voltage battery alarm indication. When the battery voltage is too low, the indicator light will flash to remind you to charge or replace the battery.
Blue indicator light is self-test indication. When the battery is installed, the blue light will go out after flashing 3 times, that means the device is normal.
If you do not want to use battery, turn the DIP switch of power supply mode to the "V" position, then you can use the USB interface to charge the transmitter.
There are two DIP switches on transmitter. Switch 1 is used to control the frequency of transmitter, which should be corresponding to the detection speed of receiver. If the receiver is set to high speed, you need to turn switch 1 of transmitter to upside position; on the contrary, turn switch 1 to downside position. Switch 2 is used to set high power (upside position) or low power (downside position). If switch 2 is set to upside position, the infrared signal can transmit longer distance. After changing the position of DIP switch, you need to re-install the battery to make it effective.
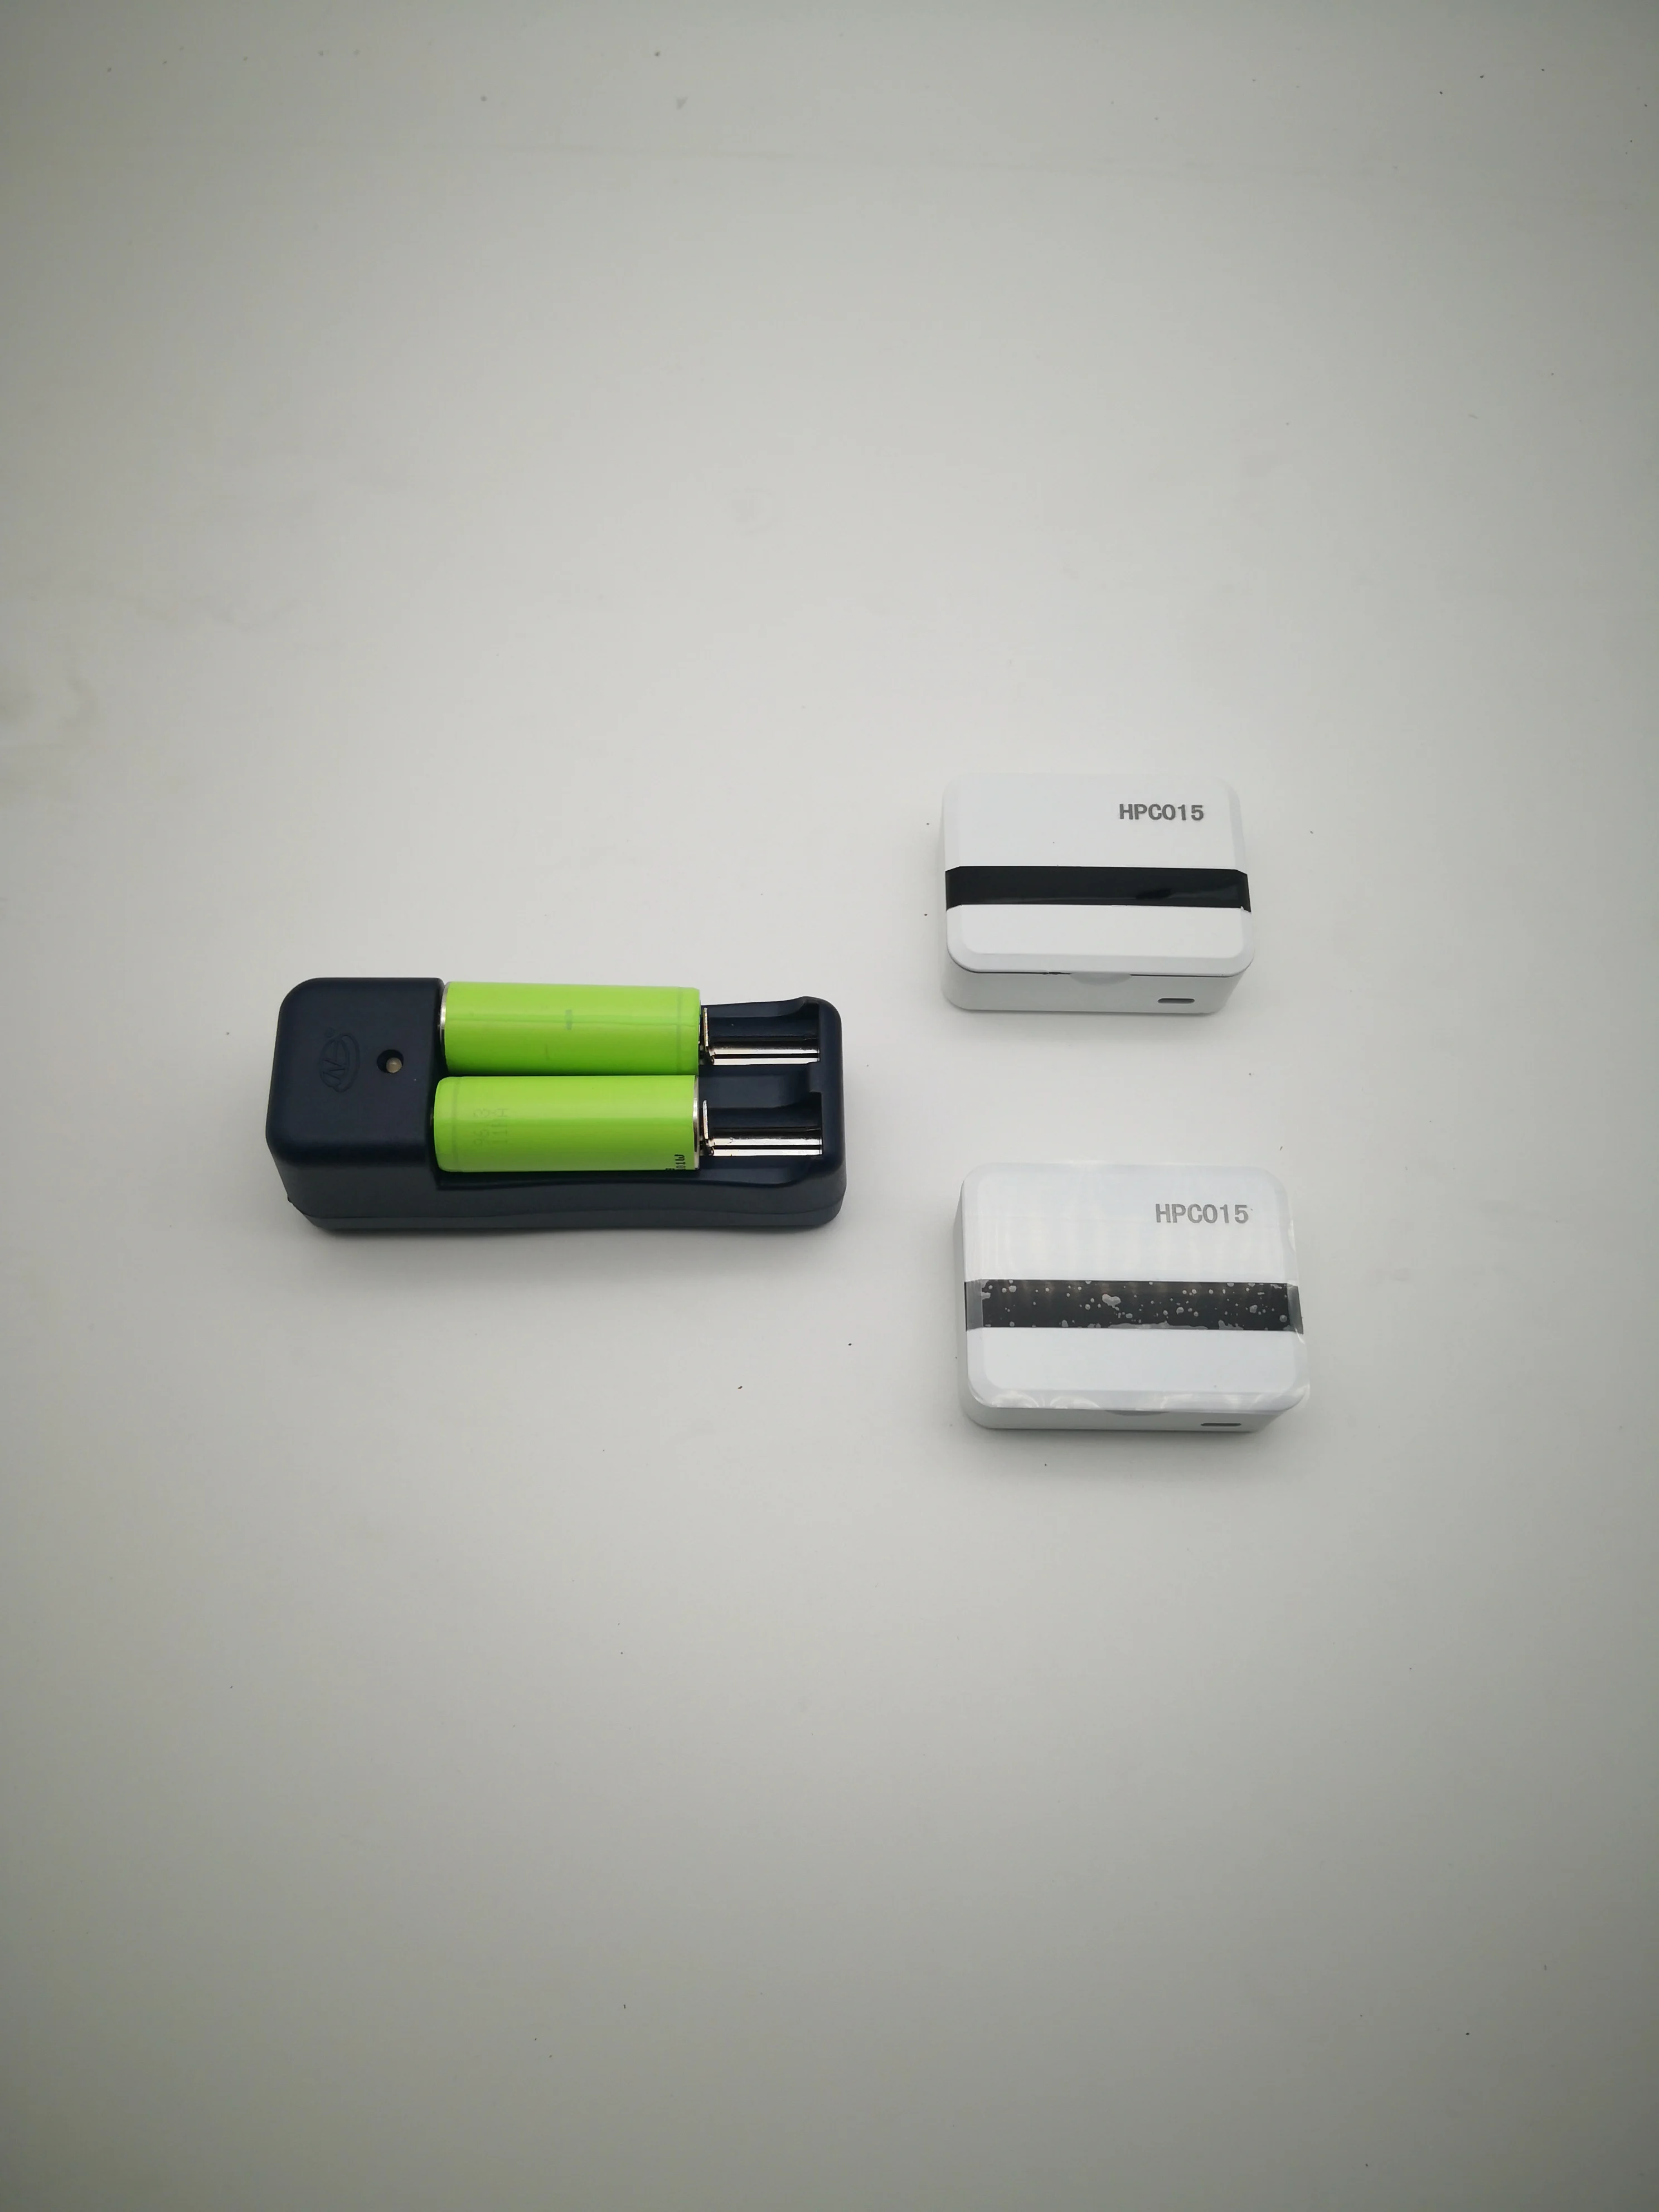
5. The Usage of Charger
When the battery remaining capacity is low, please use the matched charger to charge it. The maximum charging process takes about 6 hours. The green indicator light is on after the battery is fully charged. The charger can charge two lithium batteries at the same time. The “+” on battery should toward the direction of indicator light.

6. Working Principle of HPC015 Infrared People Counter
Receiver and transmitter should be used together and installed on both sides of entrance face to face.When there is no person traversing the entrance, receiver can receive the infrared signal from transmitter. When a person passes through the entrance, the infrared signal will be blocked. Receiver can automatically identify person’s walking direction through the infrared block direction, and then make a count

7. Installation of Receiver
Receiver is installed on the right side of entrance in pedestrian’s entry direction. The USB interface of receiver faces down, and the infrared receiving units of receiver face the direction of transmitter. Use the matched double-sided tape to paste the receiver on the wall or door frame at about 1.3m height. If there is no suitable flat surface to fix the receiver directly in the installation location, you can use the matched mounting bracket to make sure the receiver and transmitter is face-to-face

8. Usage of the Mounting Bracket
If the mounting positions on both sides of entrance are not parallel, it is recommended to use the mounting brackets. It is very easy to make receiver and transmitter face-to-face by adjusting the angle of mounting bracket.
Use the matched double-sided tape to paste the back of receiver and transmitter on the mounting brackets. Fix the other side of mounting bracket on the wall or door frame with the screws or double-sided tapes. Adjust the angle of receiver or transmitter, then use the small wrench to tighten the screws on the mounting bracket so that the bracket is not easy to change the angle.
9. Installation of Transmitter
Install the transmitter on the other side of entrance, at the same height with receiver, the USB interface faces down, the infrared transmission units face the direction of receiver. The launch angle of transmitter is relatively wide, so the receiver can normally receive the infrared signal from transmitter in a larger area. When the mounting position of transmitter is correct, the red indicator light of receiver will go out. Use double-sided tape or mounting brasket to fix transmitter on the mounting position.
10. Display Screen Contents of Receiver

Touch the underface of the light bar (touch sensor button position) to wake up the OLED display screen. When the OLED display screen is light, the display contents will be switched every time you touch the OLED display screen. The below contents can be displayed respectively:
As the device is battery-powered, in order to maximize the battery life, the display screen will automatically turn off if without touch operation in 10 seconds.
11. Configuration of Receiver
You need to prepare a smartphone with WIFI function to complete the configuration.
Switch the contents of display screen to "Keep press to AP" interface, long press for 5 seconds until the screen shows "Running" and the countdown time. Open the WLAN of smartphone, search WIFI network, you can find a network hotspot named for "People Counter", then join the network and make sure the network connection is successful.
Note: As the power consumption of receiver will increase largely when starting AP service (WIFI hotspot), it is recommended to quickly complete all the settings and close AP service timely.If the smartphone has been connected to the “People Counter” network and the browser has accessed the setting page for operation, the AP service (WIFI hotspot) of receiver will keep on. So do not worry about the countdown time.

If other wireless devices are using or there is WIFI channel interference around the receiver, you may fail to join the “People Counter” network. Try to join several times until network connection is successful.

12. Standalone Mode Setting
Two detection speeds are available: low speed and high speed. If you want to detect pedestrian’s normal speed, please choose “Low”. If you want to detect faster speed, such as running speed, please choose “High”. But note that the power consumption will increase in high speed mode.
There are three display modes for choice. If you do not want other people to see the data on the screen of receiver, please choose "Disable". If you only want to see the sum of the data in two directions, please choose "Total ". If you want to see the in and out data respectively, then choose "Two-way ". Press save, then receiver will update the parameters and calibrate its time according to your smartphone time automatically.
Now the standalone mode settings are done. Exit your mobile browser, after the countdown time on receiver screen is over, the standalone mode will run.
13. Data Browsing
Click “DATA LIST” button in login page, then you can browse the total daily data in the last 30 days and the total monthly data in the last 12 months. You can clear today’s data by clicking “Clear” button.
The data on display screen will be cleared automatically before the open time every day. The total in and out data from open time to close time will be displayed, and the data will not be affected by battery replacement.
Computer software :


Related Products

Certifications

FAQ
1. Q: Are you a factory or trading company?
A: Our trading company founded in 1998 and our factory established in 2006.
ISO certificated factory.
2. Q: How can I get some samples?
A: We are honored to offer you samples, most items are free
3. Q: What is your after-sale service?
A: We offer 100% guarantee on our product and agree 1:1 replace defective products.
4. Q: What is your MOQ? shop counter design
A: Any quantity is acceptable for your order. And the price is negotiable for large quantity.
5. Q: When will you make the delivery?
A: We can make the delivery within 1-15 working days according to the quantity of your order. The hot-selling models are always in stock.
6. Q: How can I contact you now?
A: Contact person: Susan Wu
Mob: +86 13381801985(What's app)
Email: team8 at highlight86.com
Skype: highlight-team8
Contact us, and we will show you a professional and excellent partner