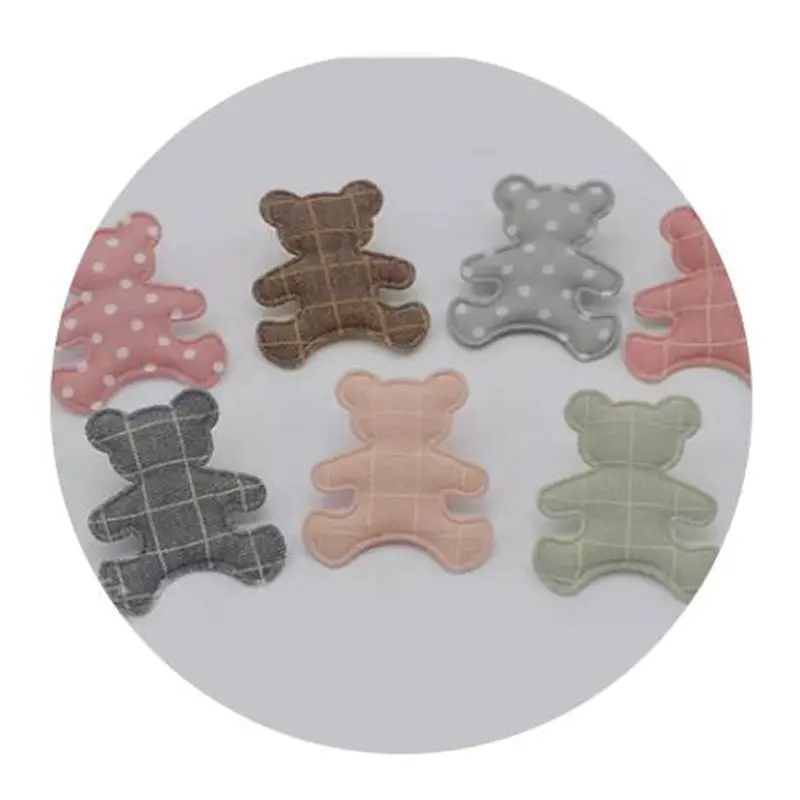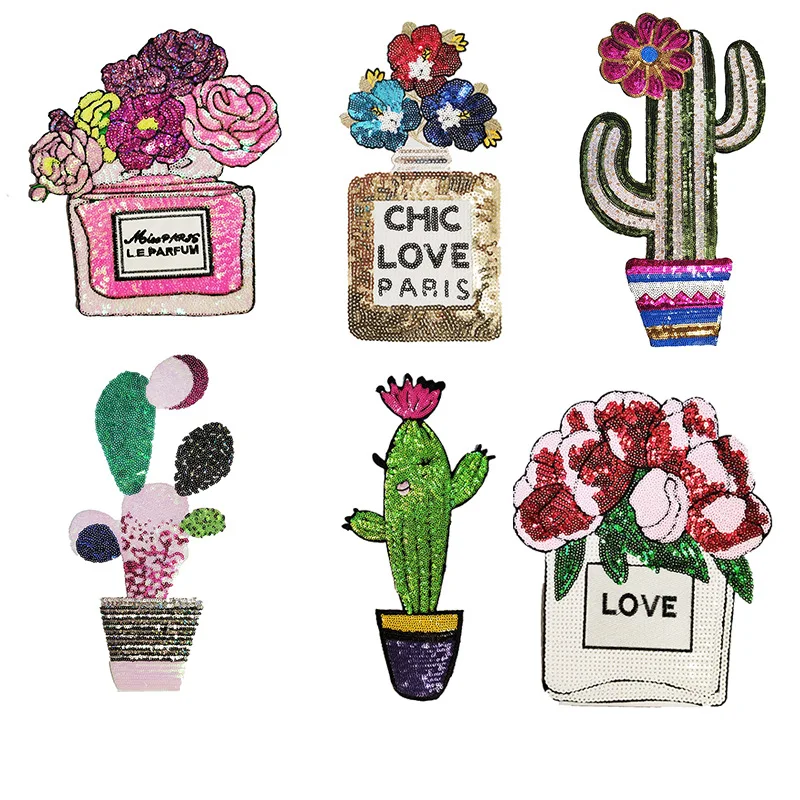
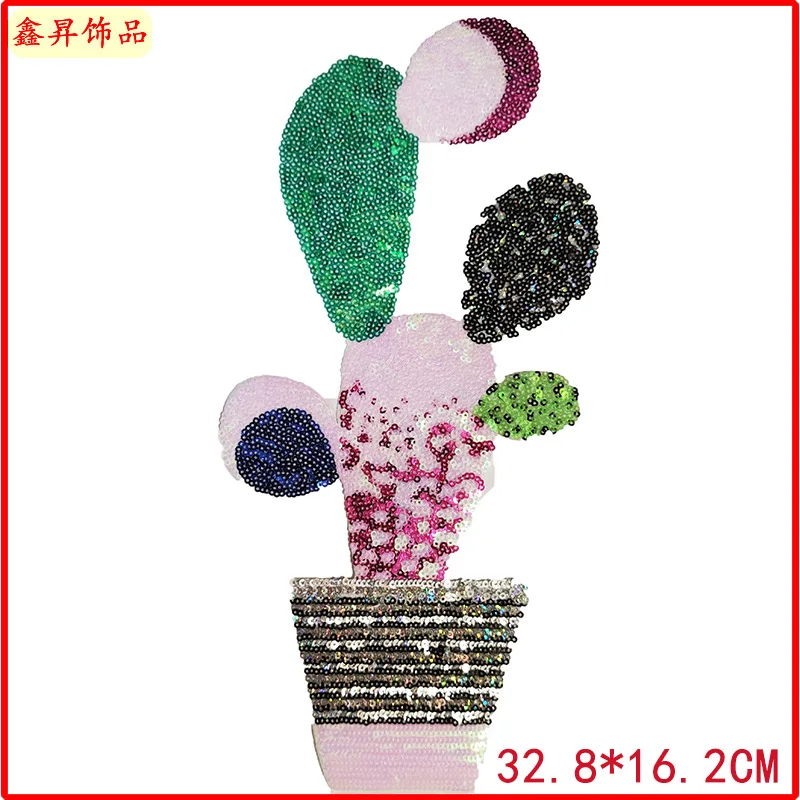
Патч с жемчужной вышивкой и цветком кактуса патч блестками Прямая поставка
- Категория: Patches >>>
- Поставщик: Yiwu,Dingdian,Household,Products,Co.,Ltd.
Поделиться:
Описание и отзывы
Трекер стоимости
| Месяц | Минимальная цена | Макс. стоимость |
|---|---|---|
| Sep-17-2025 | 2.56 $* | 2.31 $* |
| Aug-17-2025 | 2.51 $* | 2.42 $* |
| Jul-17-2025 | 2.56 $* | 2.25 $* |
| Jun-17-2025 | 2.24 $* | 2.26 $* |
| May-17-2025 | 2.65 $* | 2.77 $* |
| Apr-17-2025 | 2.84 $* | 2.88 $* |
| Mar-17-2025 | 2.88 $* | 2.74 $* |
| Feb-17-2025 | 2.36 $* | 2.73 $* |
| Jan-17-2025 | 2.89 $* | 2.38 $* |
Характеристики
Title goes here.
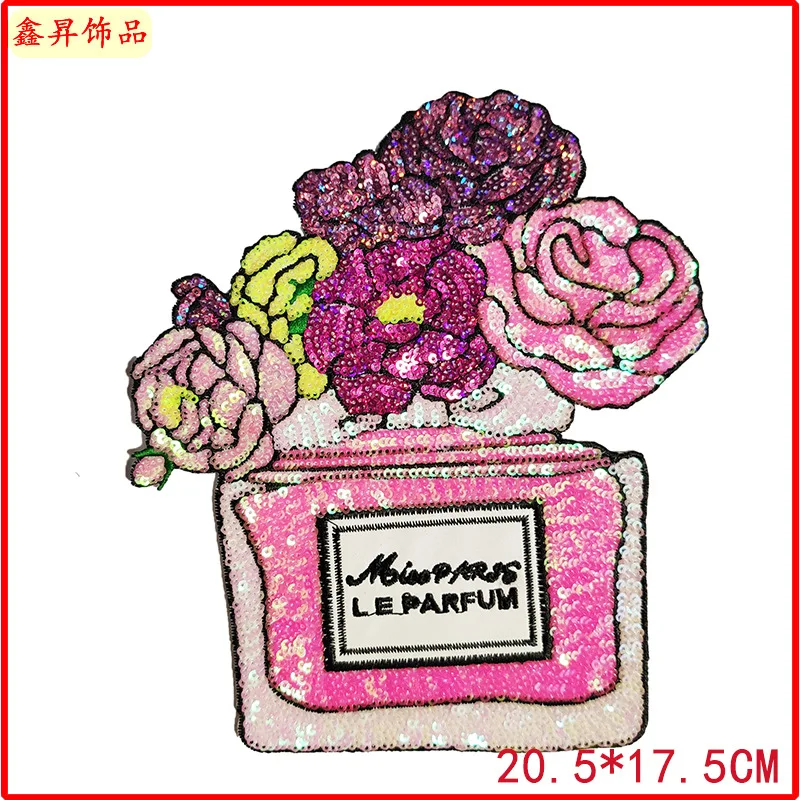
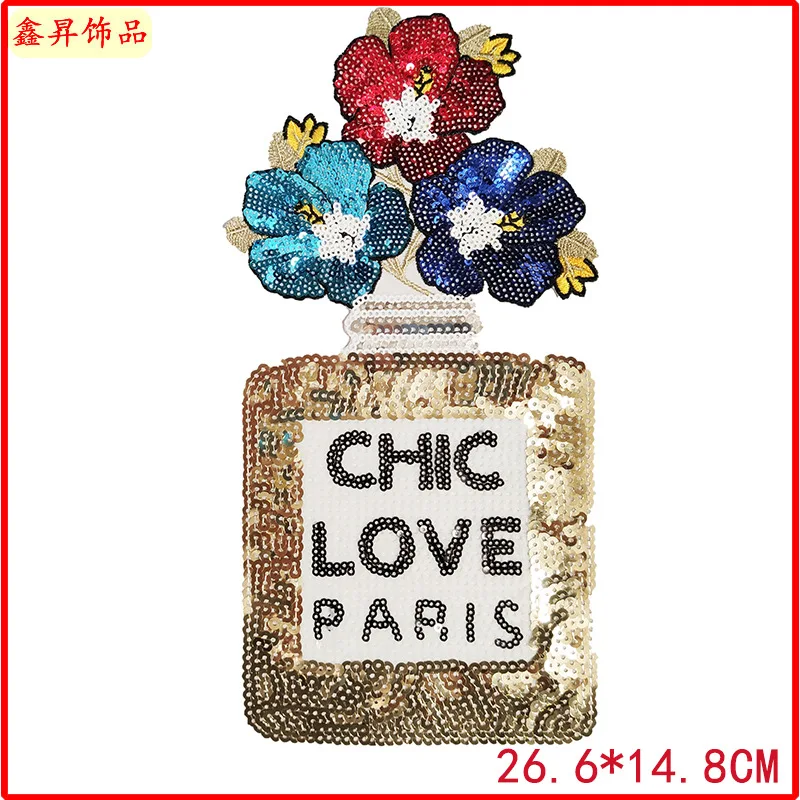
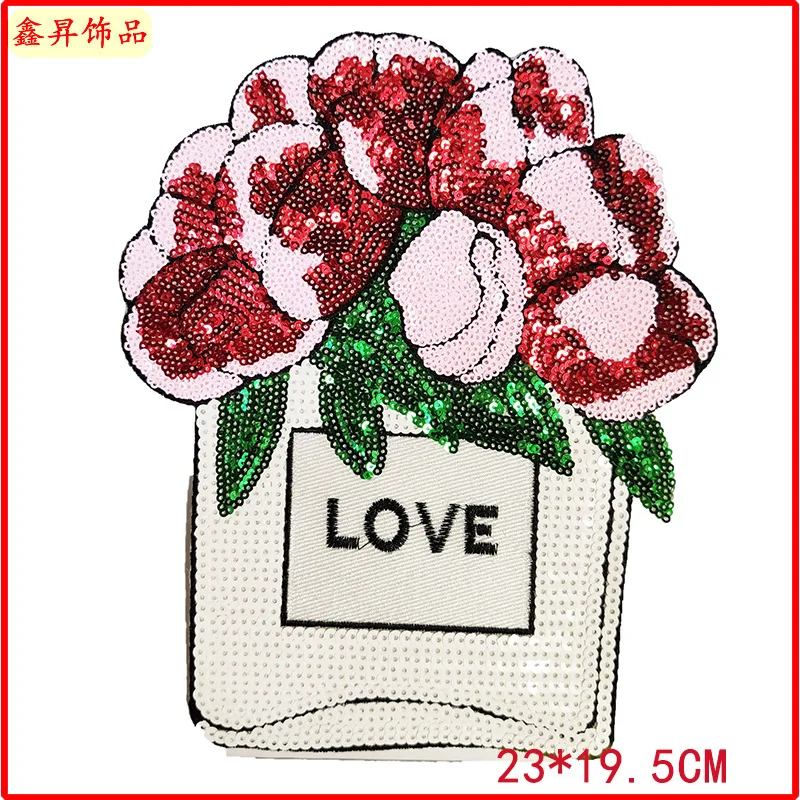
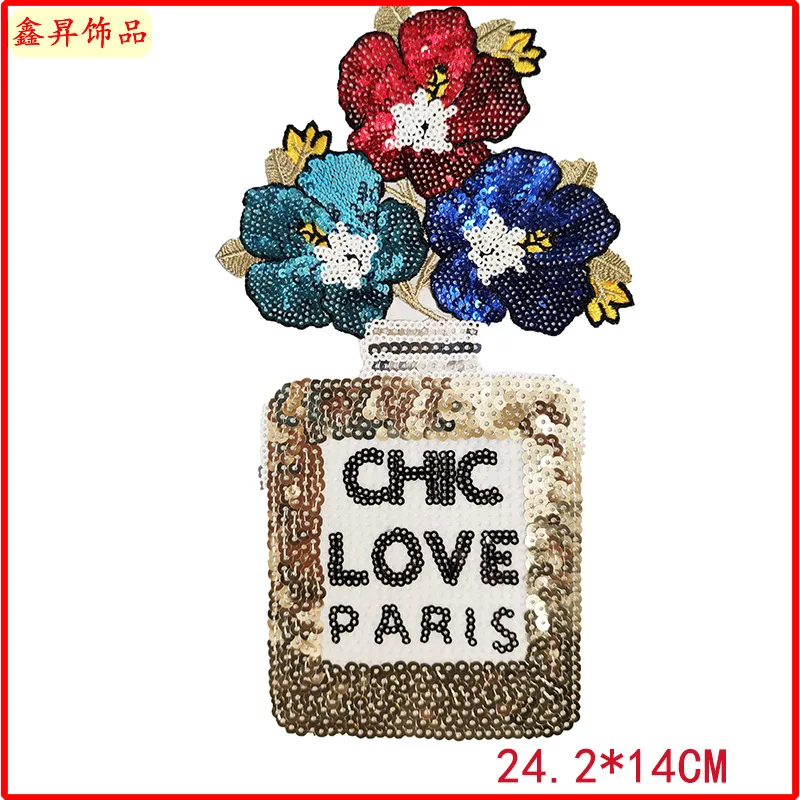
Pearl embroidery clothing accessories, cactus flower patches, sequin embroidery patches, directly supplied by the manufacturer
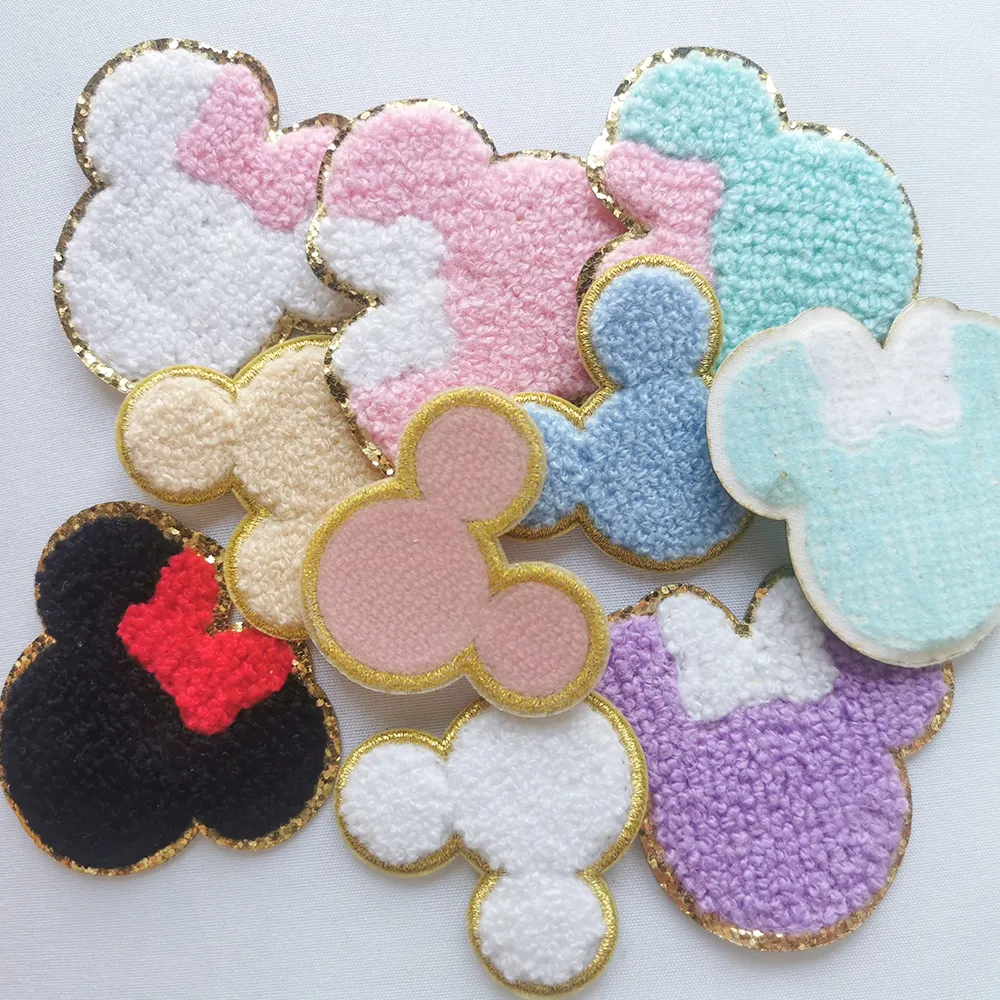
Fabric type: Chenille
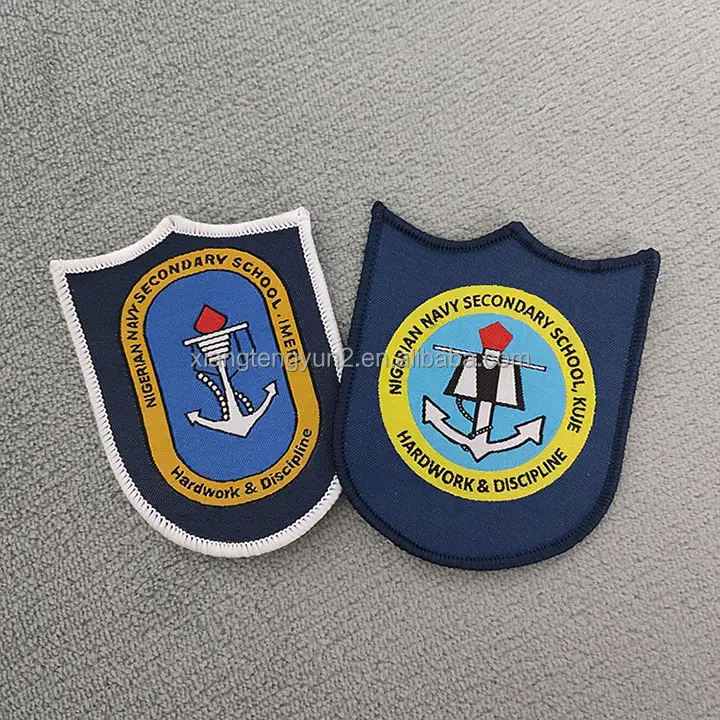
Product Category: Patch
Type: Polyurethane
Main ingredient: fabric 7 days delivery time for sample
orders:Support
Style: ironing, customized
Craft: Embroidery
Features: 3D
Packing: Packed in opp bag
Color: custom color
Shape:custom design
Material: 100% embroidery
Product Description


Specification
Product Name | Brand logo patch |
size | 18 X 33 CM |
instructions | High temperature ironing and sewing |
Scope of use | Clothing, jeans, shoes, bags and other patches, sequins |
Packing & Delivery


To better ensure the safety of your goods, professional, environmentally friendly, convenient and efficient packaging services will be provided.
Company Profile


Yiwu dingdian Textile Co., Ltd. is a company specializing in the production and processing of chain embroidery, lace, towel embroidered cloth, Zhangzai, zhupianzhangzai, zhupian cloth, water-soluble embroidery, water-soluble lace cloth patch, zhupian. Dongguan Longsheng Embroidery Co., Ltd. is recognized by the industry for its integrity, strength and product quality. Welcome friends from all walks of life to visit, guide and business negotiation.
FAQ
buyer's required reading] this item of baby is shot in kind. Affected by objective factors such as light, the product will have
certain color difference. In addition, because each computer monitor is different, the color displayed will also be a little
different, and the product is subject to the actual object. The price of cloth stickers is determined according to the size of the picture and the number of stitches. Some customers ask why the price of cloth stickers of the same size is so different, because the number of stitches of different cloth stickers is different and the color is different, so the price is different.
[precautions] for cloth stickers with sequins, beads, rhinestones, silk flowers and wool balls, as well as cloth stickers
embroidered with metal wire, they should be ironed from the reverse side first, and then the corners should be trimmed from the front side after the cloth stickers are fixed firmly to avoid damaging the sequins or other ornaments on the front side. Clothes (or other textiles) should be kept dry. When ironing, do not use iron to spray water on cloth stickers or clothes. After pressing, the cloth can be closely combined with clothes (or other textiles) for a long time. If the cloth stickers fall off after a period of time, or fall off after washing, it means that the iron temperature is low during ironing, or the ironing time is too short, you can restore the operation, and then press the cloth stickers again
certain color difference. In addition, because each computer monitor is different, the color displayed will also be a little
different, and the product is subject to the actual object. The price of cloth stickers is determined according to the size of the picture and the number of stitches. Some customers ask why the price of cloth stickers of the same size is so different, because the number of stitches of different cloth stickers is different and the color is different, so the price is different.
How to iron cloth stickers
1. First put the cloth sticker on the place you want to paste it. Stick the hot melt glue on the side
of the cloth (the glue can't be torn off). Preheat the iron and iron it for 10-20 seconds from the front of the cloth sticker to
fix the cloth sticker. You can also use a needle and thread to fix the position of the cloth before ironing, so as to avoid the
deviation of the cloth.
of the cloth (the glue can't be torn off). Preheat the iron and iron it for 10-20 seconds from the front of the cloth sticker to
fix the cloth sticker. You can also use a needle and thread to fix the position of the cloth before ironing, so as to avoid the
deviation of the cloth.
2. Reverse the fixed position of the cloth stickers together with the clothes (or other textiles), iron
from the reverse side for 30-60 seconds to ensure that the back glue melts and the cloth stickers are firmly attached to the
clothes (or other textiles).
from the reverse side for 30-60 seconds to ensure that the back glue melts and the cloth stickers are firmly attached to the
clothes (or other textiles).
3. Finally, iron from the front for 1-2 minutes, mainly pressing the edges and corners of the cloth
pastes, to ensure that the surface is flat and smooth, and perfectly integrated with the clothes (or other textiles).
pastes, to ensure that the surface is flat and smooth, and perfectly integrated with the clothes (or other textiles).
[precautions] for cloth stickers with sequins, beads, rhinestones, silk flowers and wool balls, as well as cloth stickers
embroidered with metal wire, they should be ironed from the reverse side first, and then the corners should be trimmed from the front side after the cloth stickers are fixed firmly to avoid damaging the sequins or other ornaments on the front side. Clothes (or other textiles) should be kept dry. When ironing, do not use iron to spray water on cloth stickers or clothes. After pressing, the cloth can be closely combined with clothes (or other textiles) for a long time. If the cloth stickers fall off after a period of time, or fall off after washing, it means that the iron temperature is low during ironing, or the ironing time is too short, you can restore the operation, and then press the cloth stickers again
Похожие товары