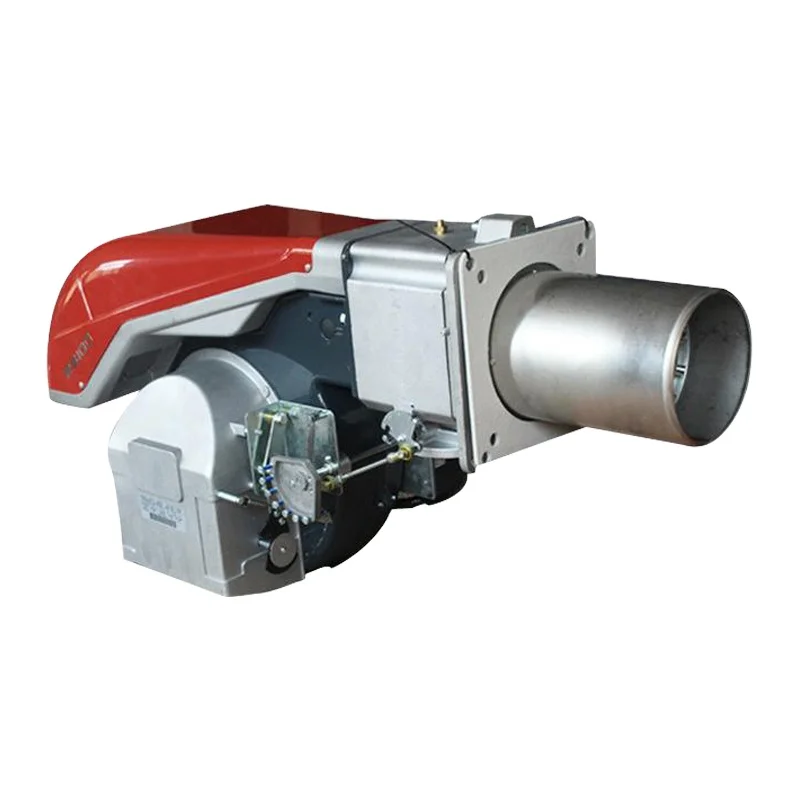
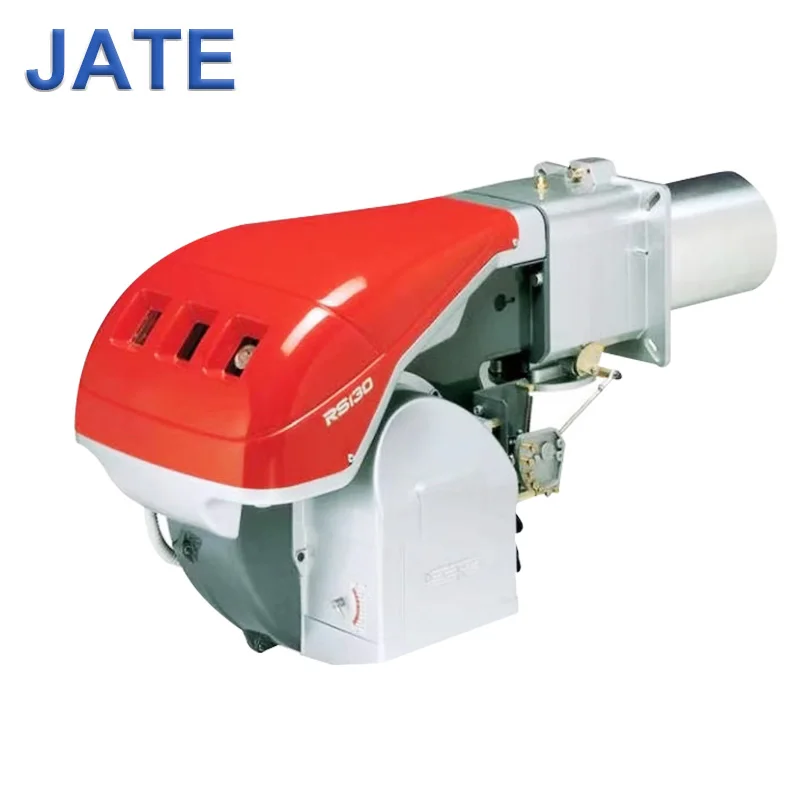
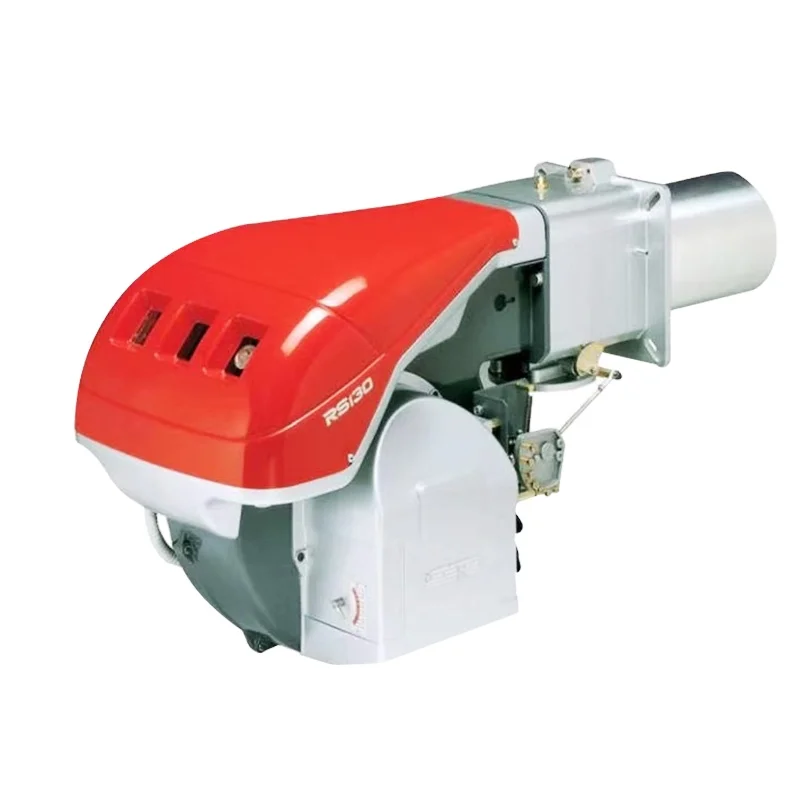
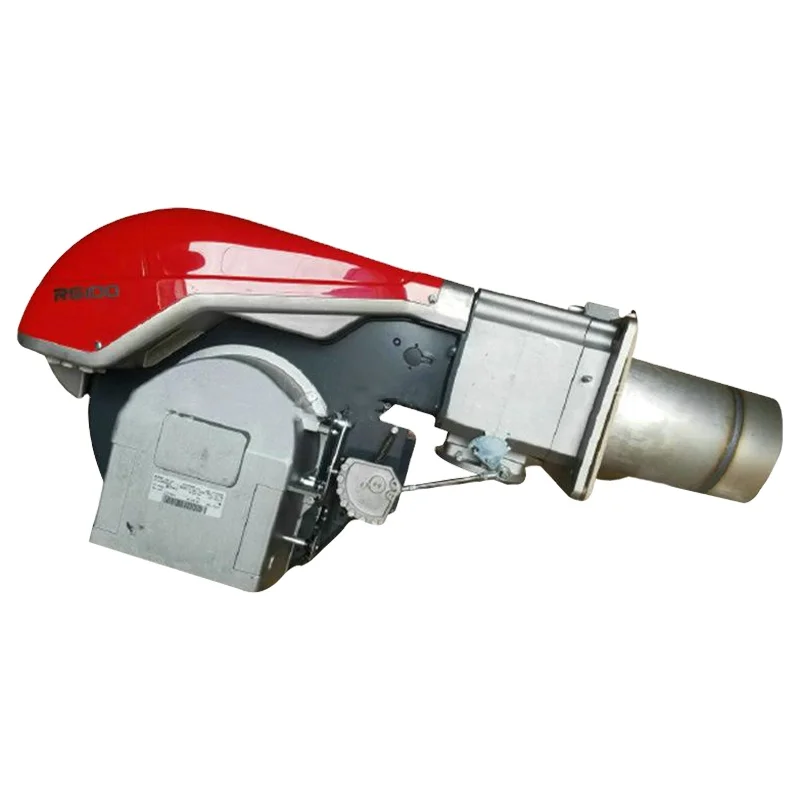
Industrial Natural Gas Burner RS130/M Riello Brand Jet burners With Wholesale Price
Installation:
Securing the burner to the boiler
Before fixing the burner to the boiler, check from the opening of the blast tube that the probe and the electrode are
correctly positioned, as in Fig. 12.
If, in the previous check, the position of the probe or electrode was not correct, remove the screw 1)(Fig. 13), extract
the inner part 2)(Fig. 13) of the head, and adjust them.
Do not rotate the probe: leave it as in Fig. 12 since if it is located too close to the ignition electrode, the control box
amplifier may be damaged.
Separate the combustion head from the rest of the burner, Fig. 11. To do this, proceed as follows:
- loosen the 4 screws 3) and remove the hood 1);
- disengage the articulated coupling 7) from the graduated sector 8);
- remove screws 2) from the two slide bars 5);
- remove the 2 screws 4) and pull the burner back on slide bars 5) by about 100 mm;
- disconnect the probe and electrode cables, then slide off the burner completely from the slide bars. Once this operation has been carried out, fix the flange 11)(Fig. 11) to the boiler plate, interposing the insulating gasket 9)(Fig. 11) supplied.
Use the 4 screws supplied, with a tightening torque of 35 - 40 Nm, after protecting their thread with anti-seize prod
ucts.
The seal between burner and boiler must be airtight. After the start-up (see Ch. 5.3), check there is no leakage of flue
gases into the external environment.